
Healthy Gluten-Free Pumpkin Chocolate Chip Cookies (One Bowl!)
This website uses affiliate links which may earn commission for purchases made at no additional cost to you.
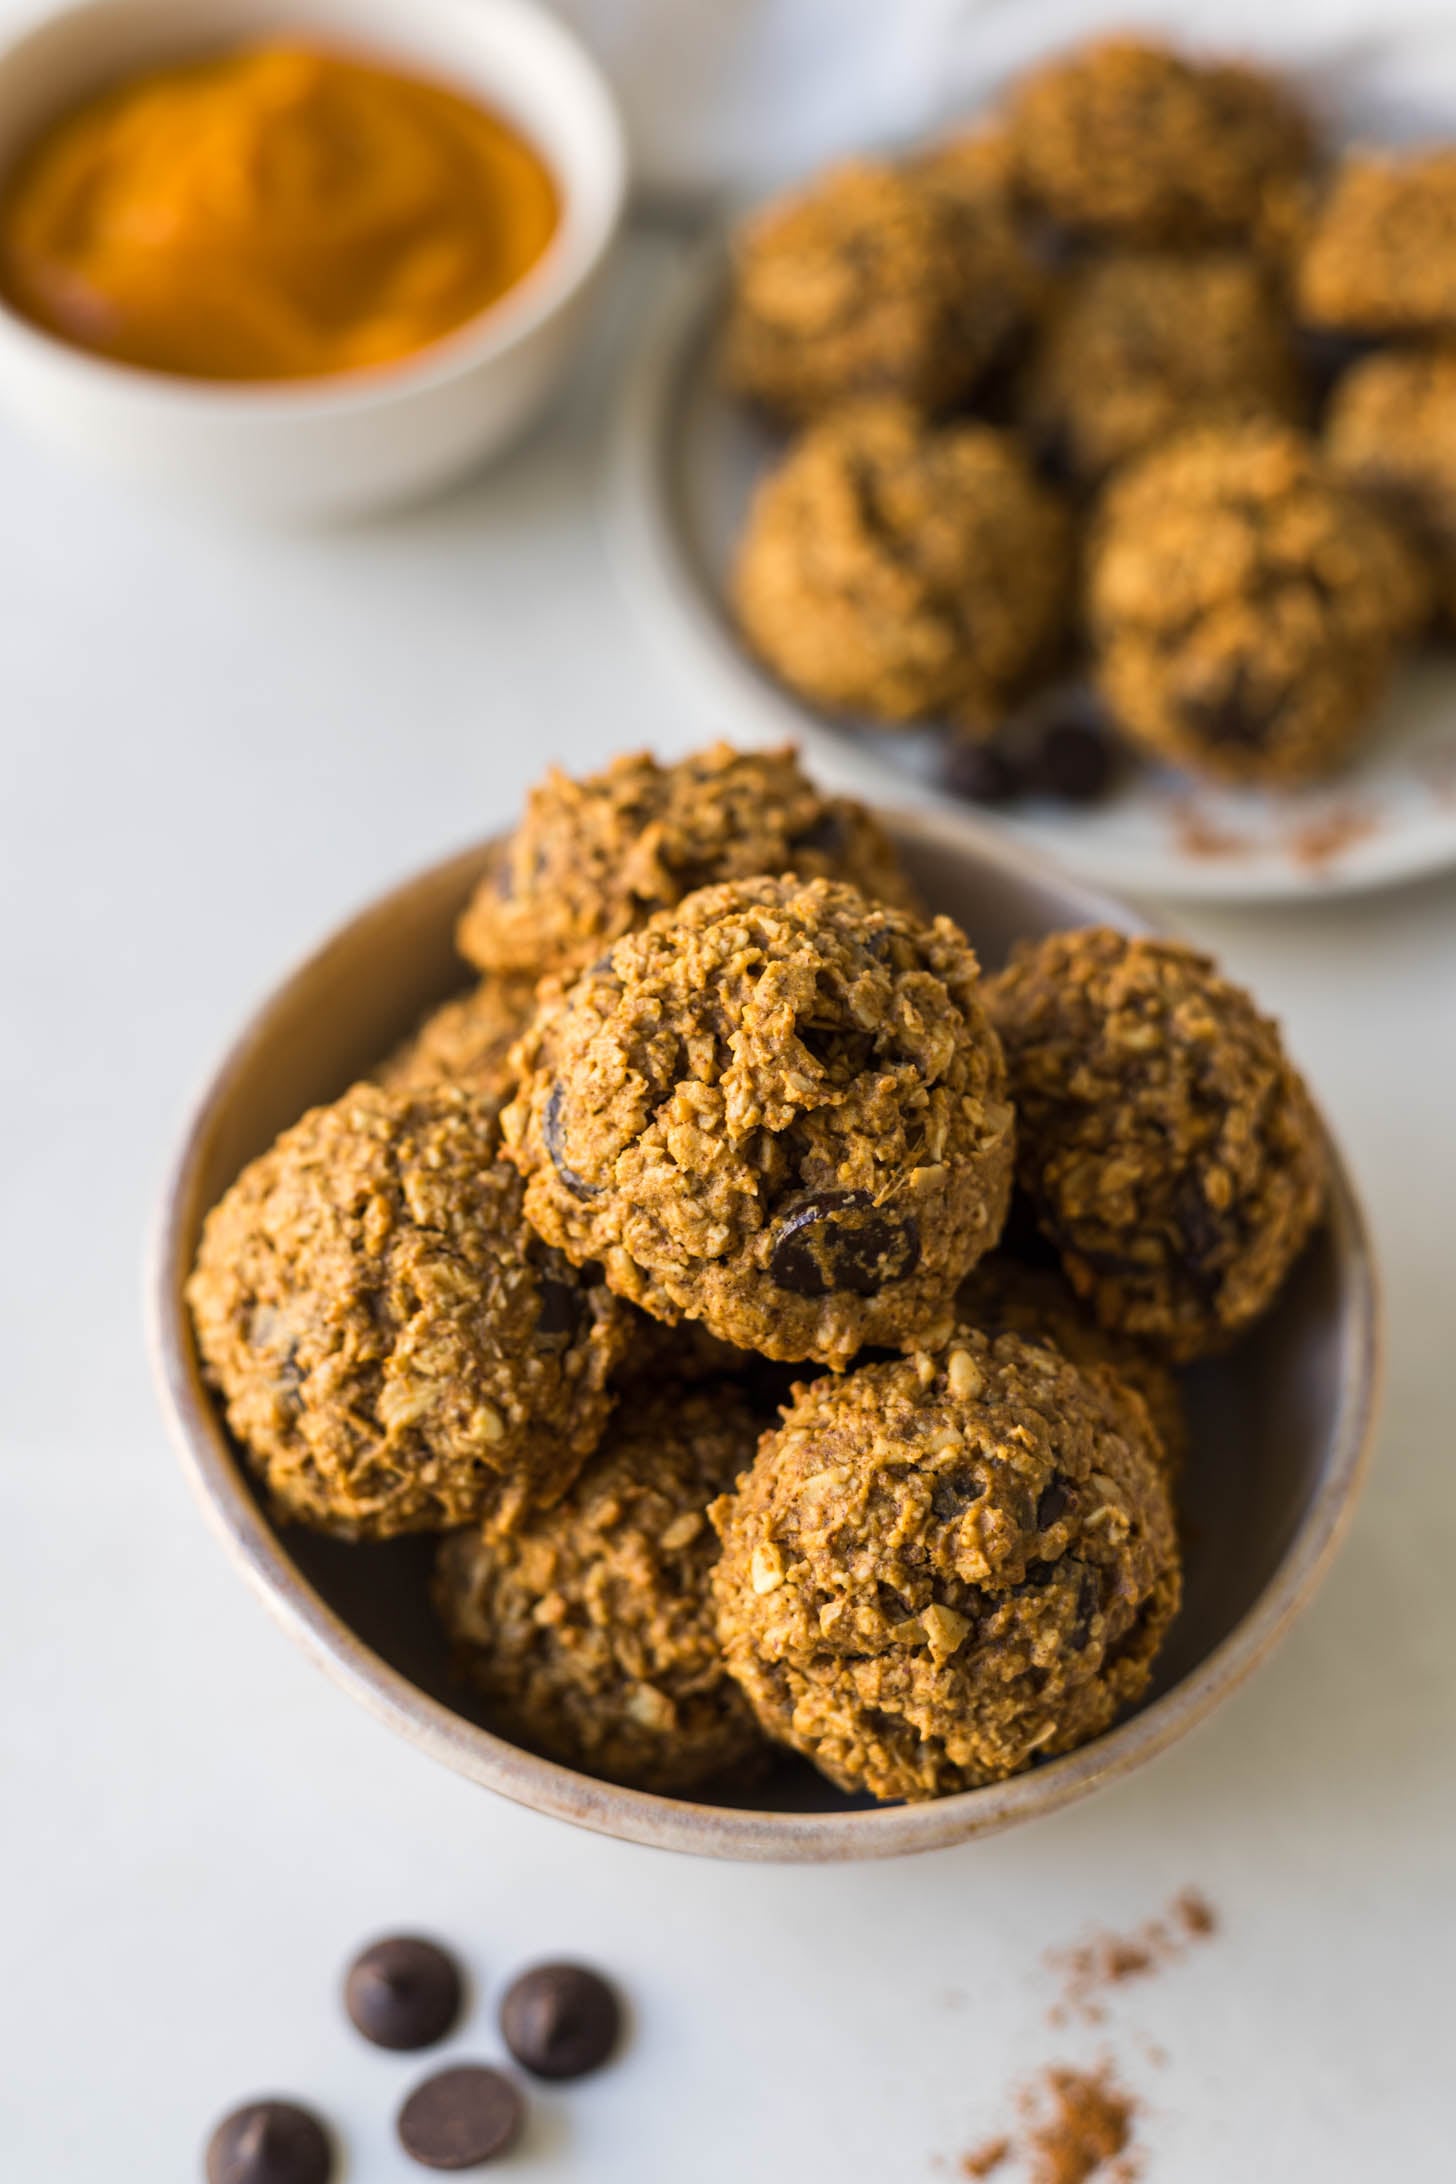
These one-bowl gluten free pumpkin chocolate chip cookies are a cozy, naturally sweetened Fall treat the whole family will love! They’re one of my favorite gluten-free dessert recipes to make all season long.
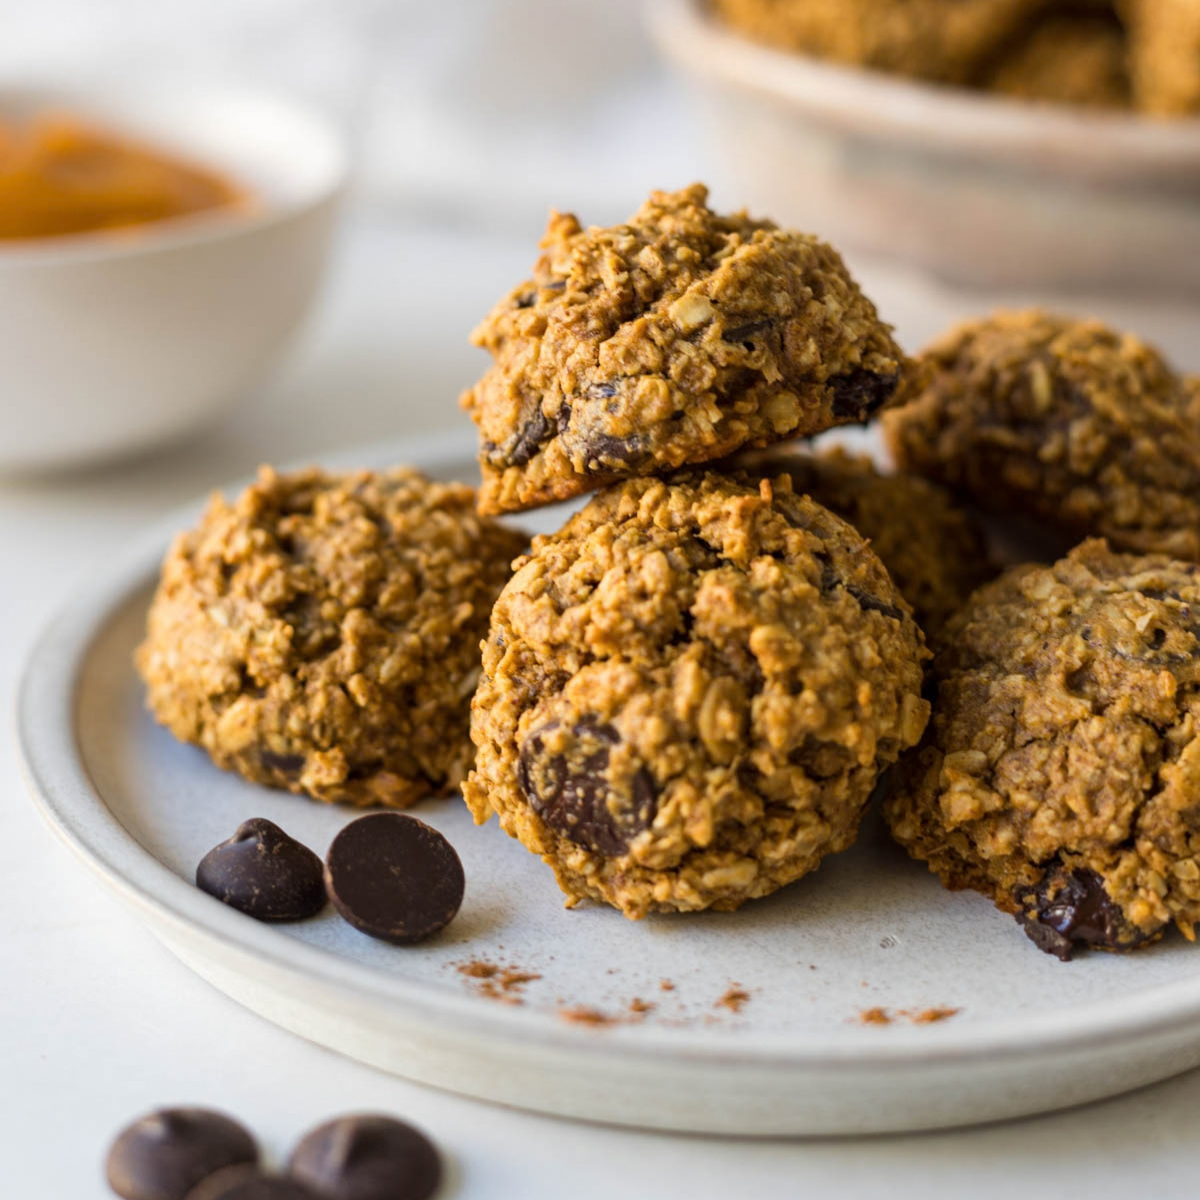
Weekends at our house get busy fast, and I still want to have something homemade and supportive to snack on. These cookies are my go-to Fall cookie when I want to bake something seasonal that is quick and healthy.
For another quick fall bake, my pumpkin protein bread is also one I love to have on hand for the week!
Ingredient Notes
- Oats: Use certified gluten-free oats to make sure this recipe stays truly gluten-free. You’ll blend them into a flour right in your blender or food processor before adding them to the bowl.
- Pumpkin Puree: Make sure you’re using pure pumpkin puree straight from the can – not pumpkin pie filling! Pumpkin pie filling has added sugar and spices already in it, which will throw off the flavor and sweetness of these cookies.
- Almond Butter: Use a smooth, runny almond butter for best results. A stiff or refrigerated almond butter can make the dough too thick. I find a freshly opened jar works best, similar to what I do with my peanut butter chocolate fudge brownies – a runny nut butter makes all the difference in the texture!
- Maple Syrup: 100% pure maple syrup is what I use and recommend here.
Substitutions
- Nut Butter: You can swap the almond butter for peanut butter or sunflower seed butter. Sunflower seed butter is a great nut-free option, which makes these cookies school-safe!
- Maple Syrup: You can use honey instead of maple syrup, if that’s all you have on hand.
- Chocolate Chips: Use any chocolate chips you love. Be sure they’re gluten-free if you’re needing to ensure the recipe is gluten-free. I like dark chocolate chips since they usually have a little less sugar.
How to Make Pumpkin Chocolate Chip Cookies: Step-by-Step
For the full recipe with the exact ingredients, scroll down to the printable recipe card below!
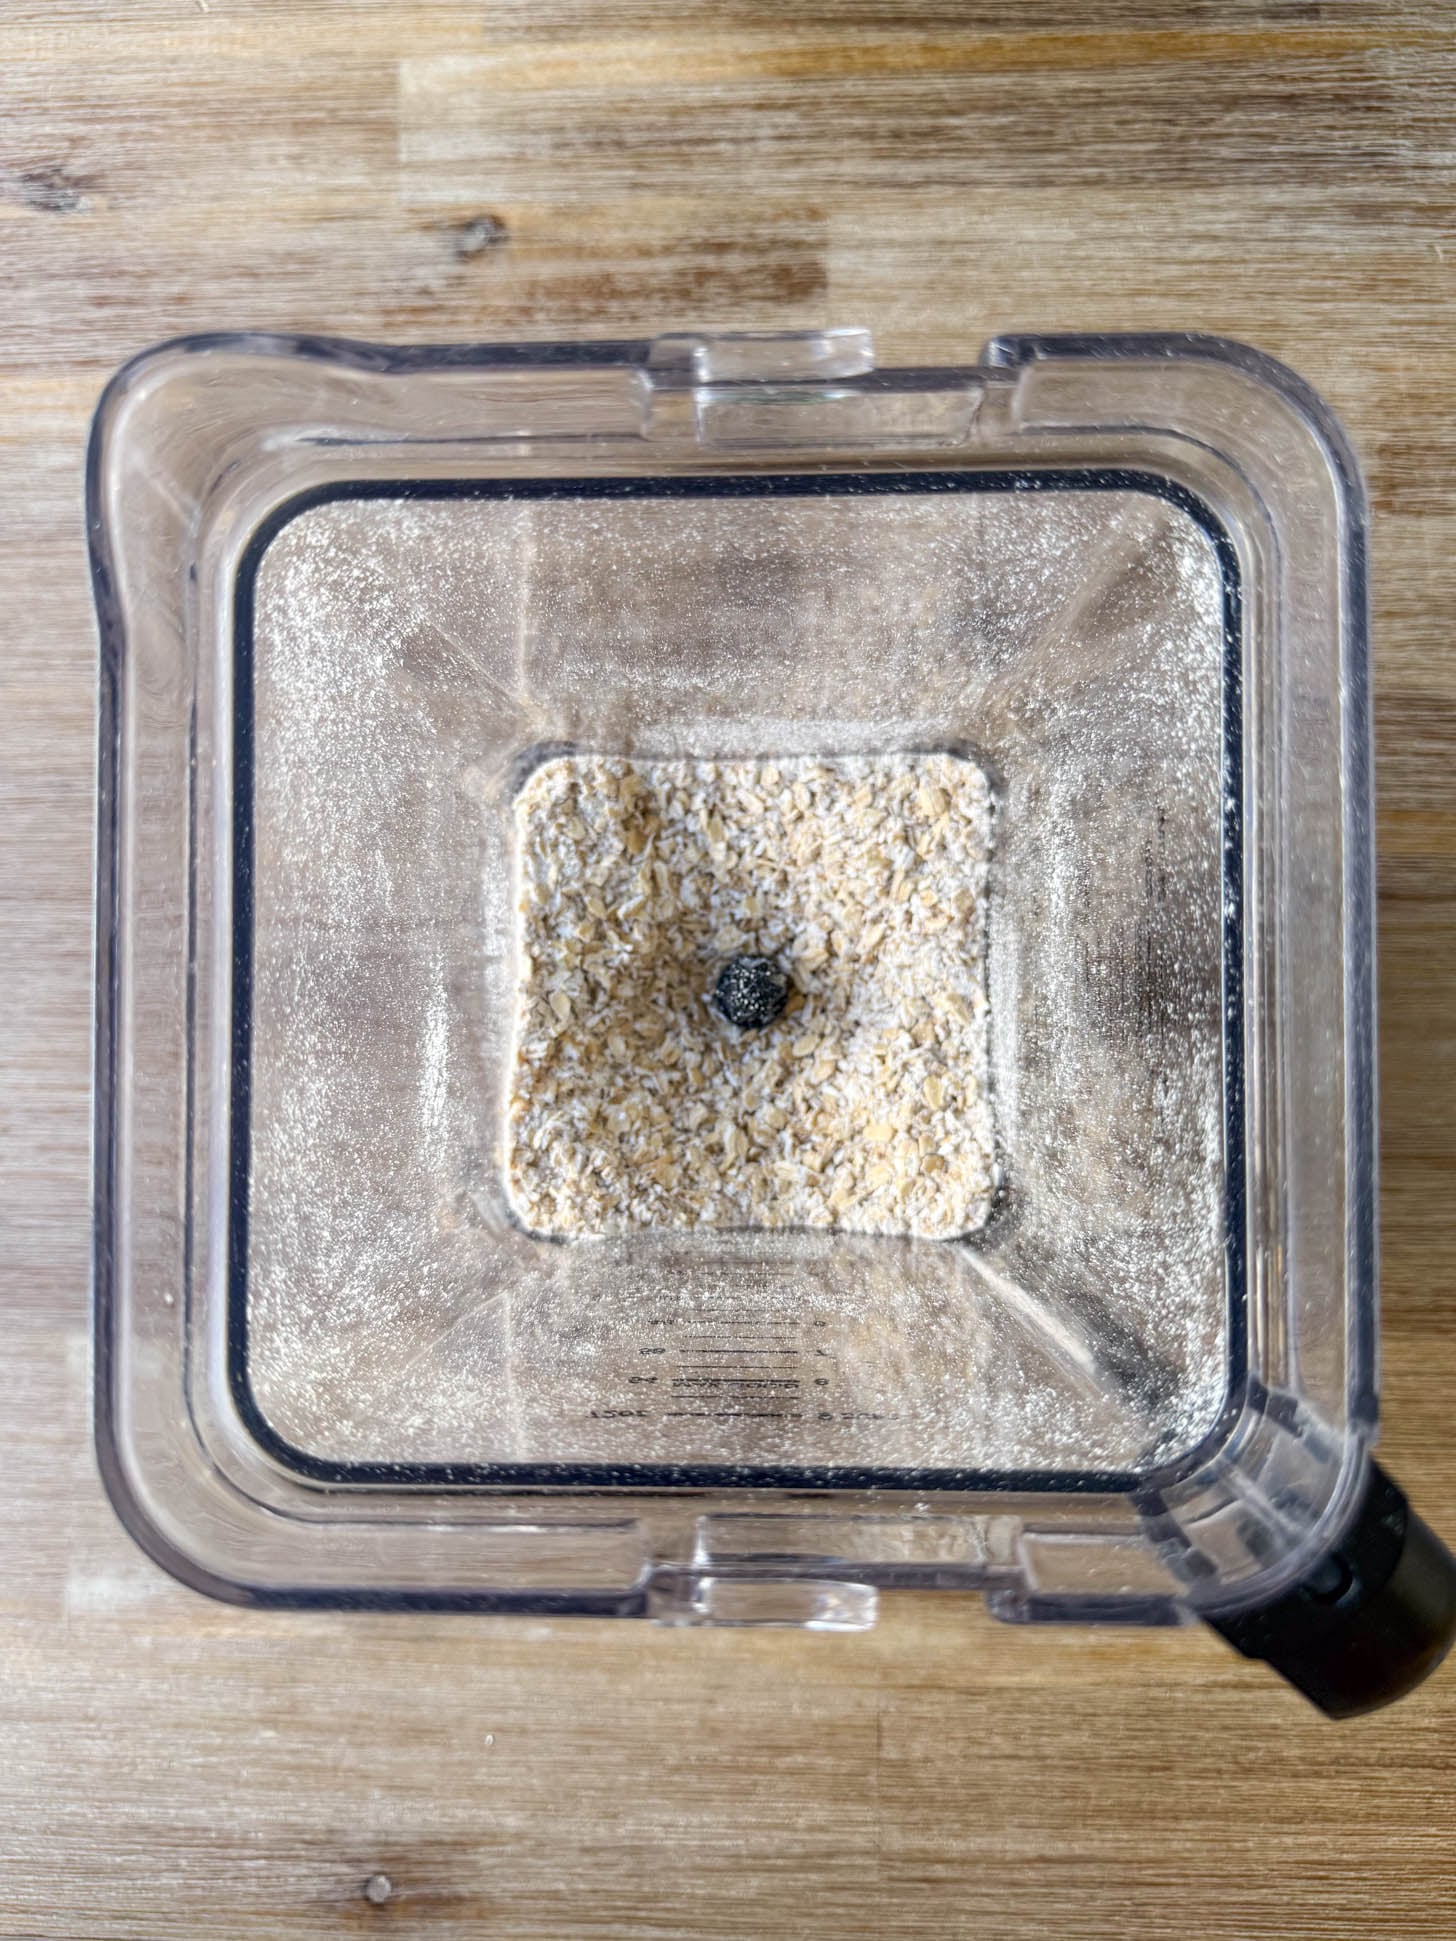
Step 1: Blend your oats in a high-speed blender or food processor until they form a flour.
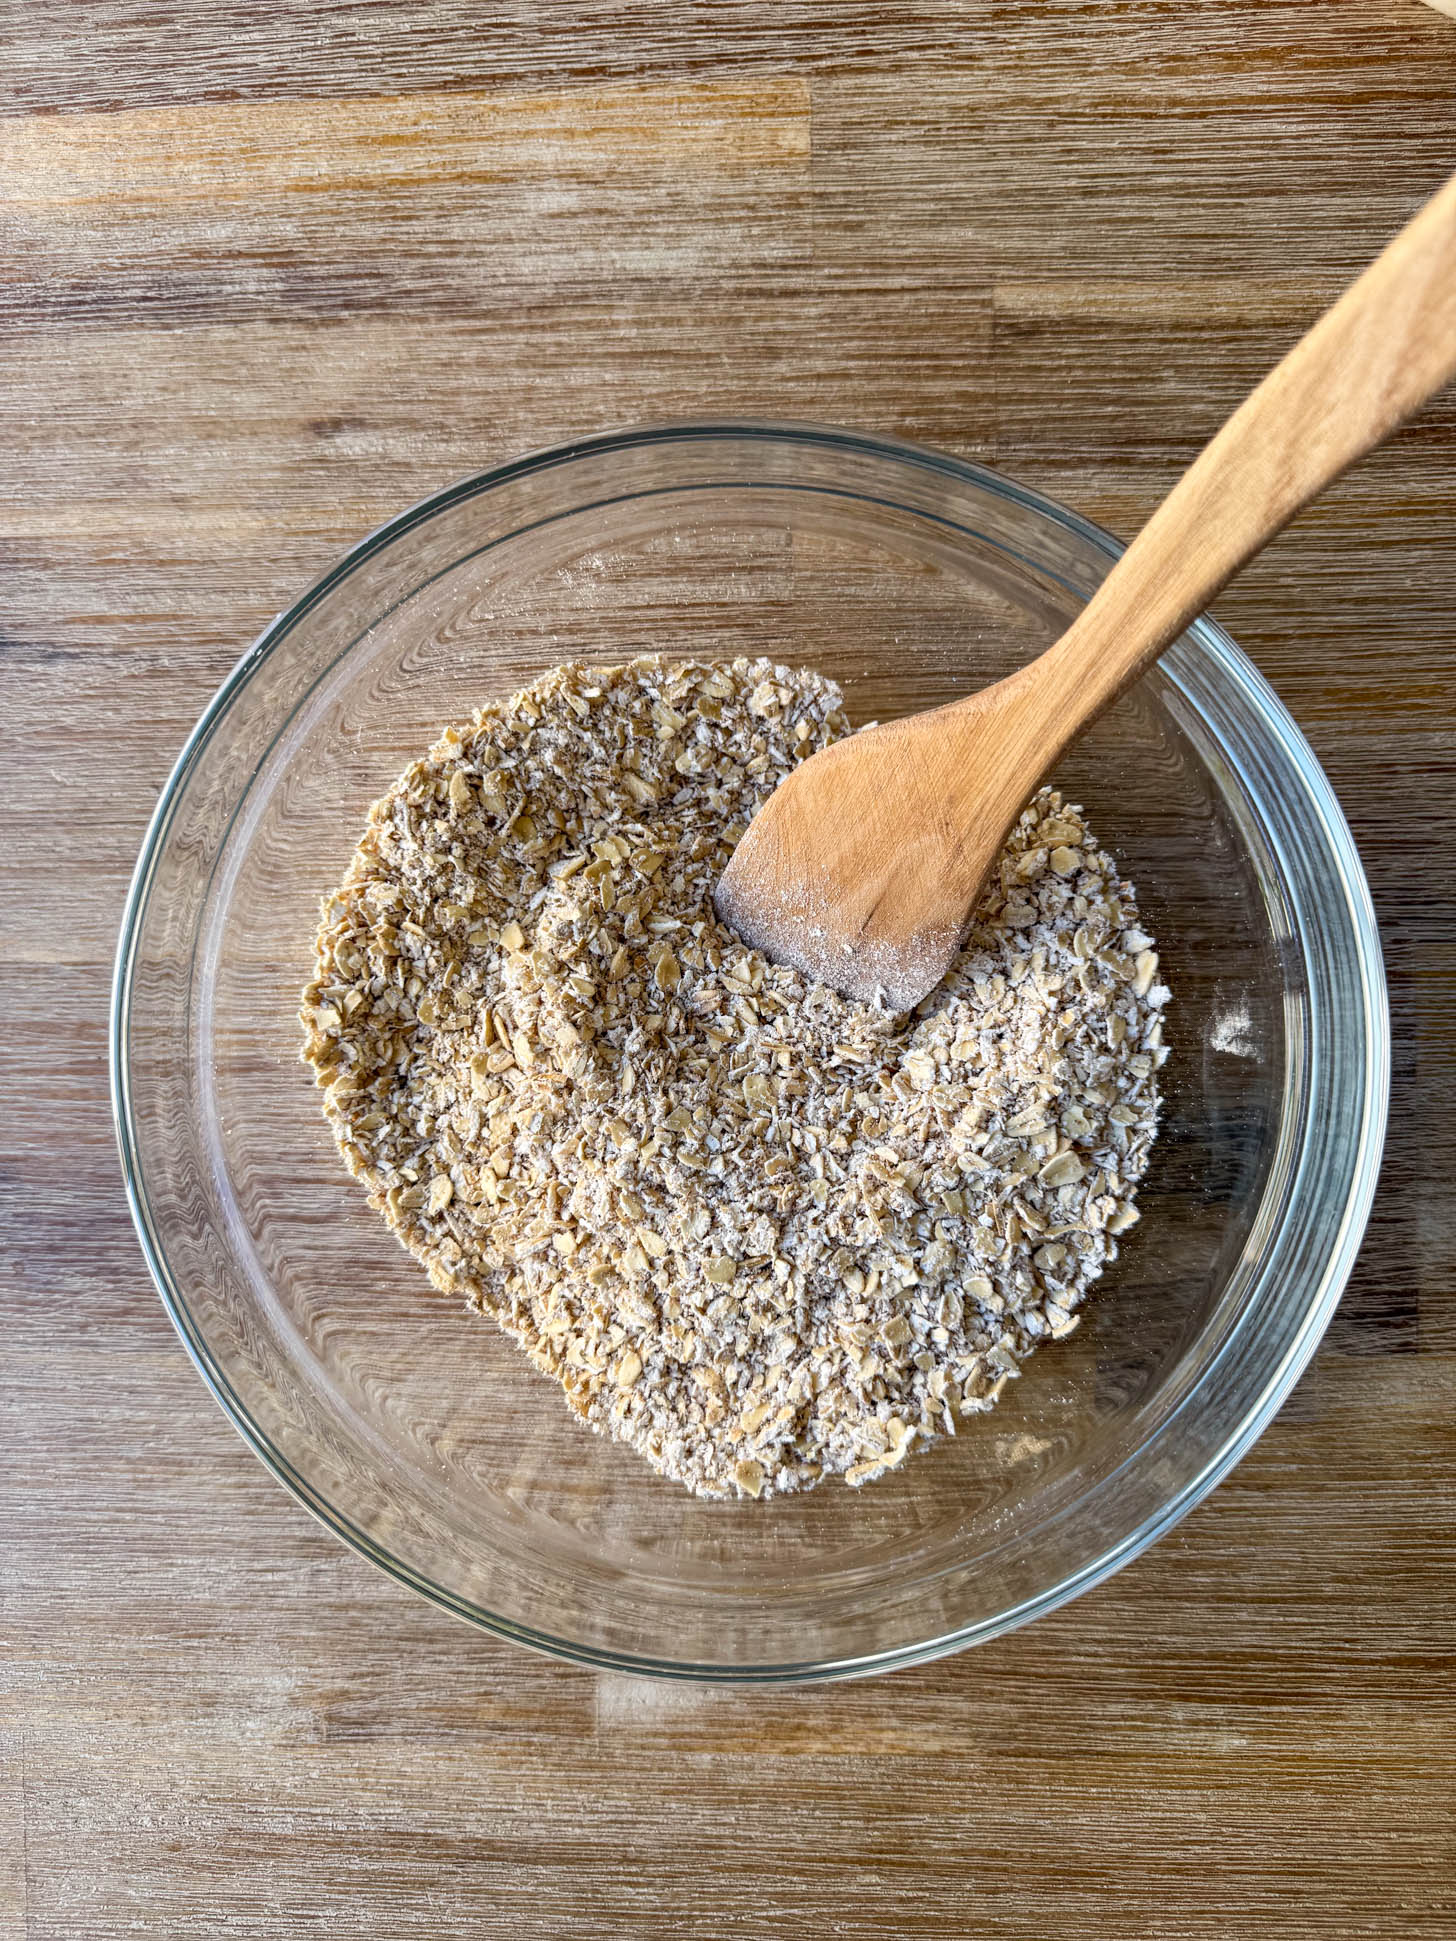
Step 2: In a medium mixing bowl, whisk together the oat flour, pumpkin pie spice, baking soda, and salt.
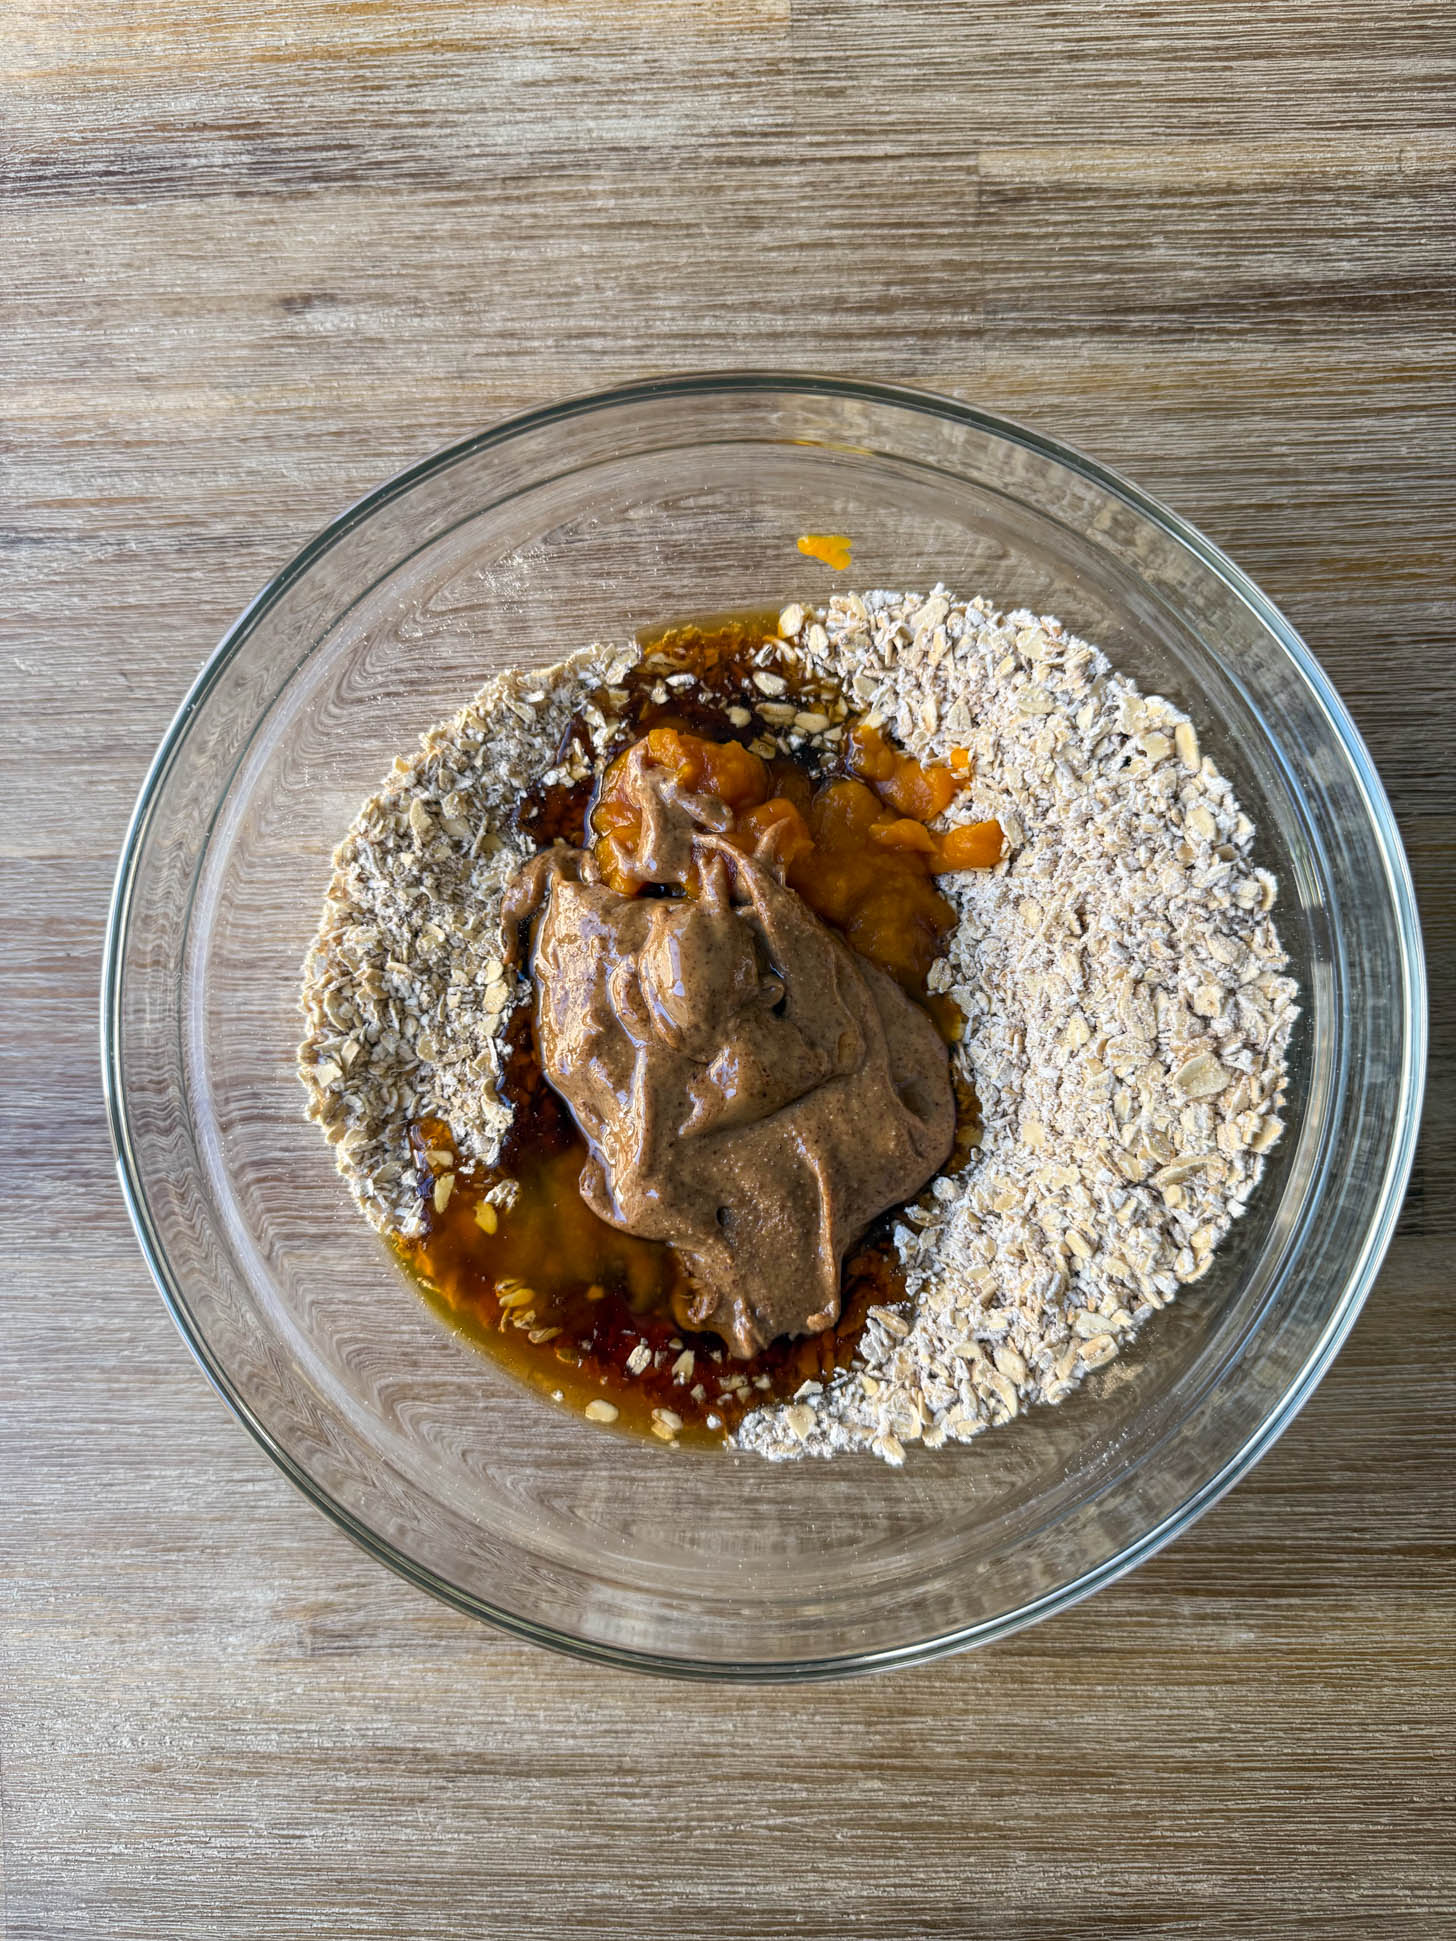
Step 3: Push the dry ingredients to the side to make a well in the center. Add the pumpkin puree, almond butter, maple syrup, and vanilla right into the center.
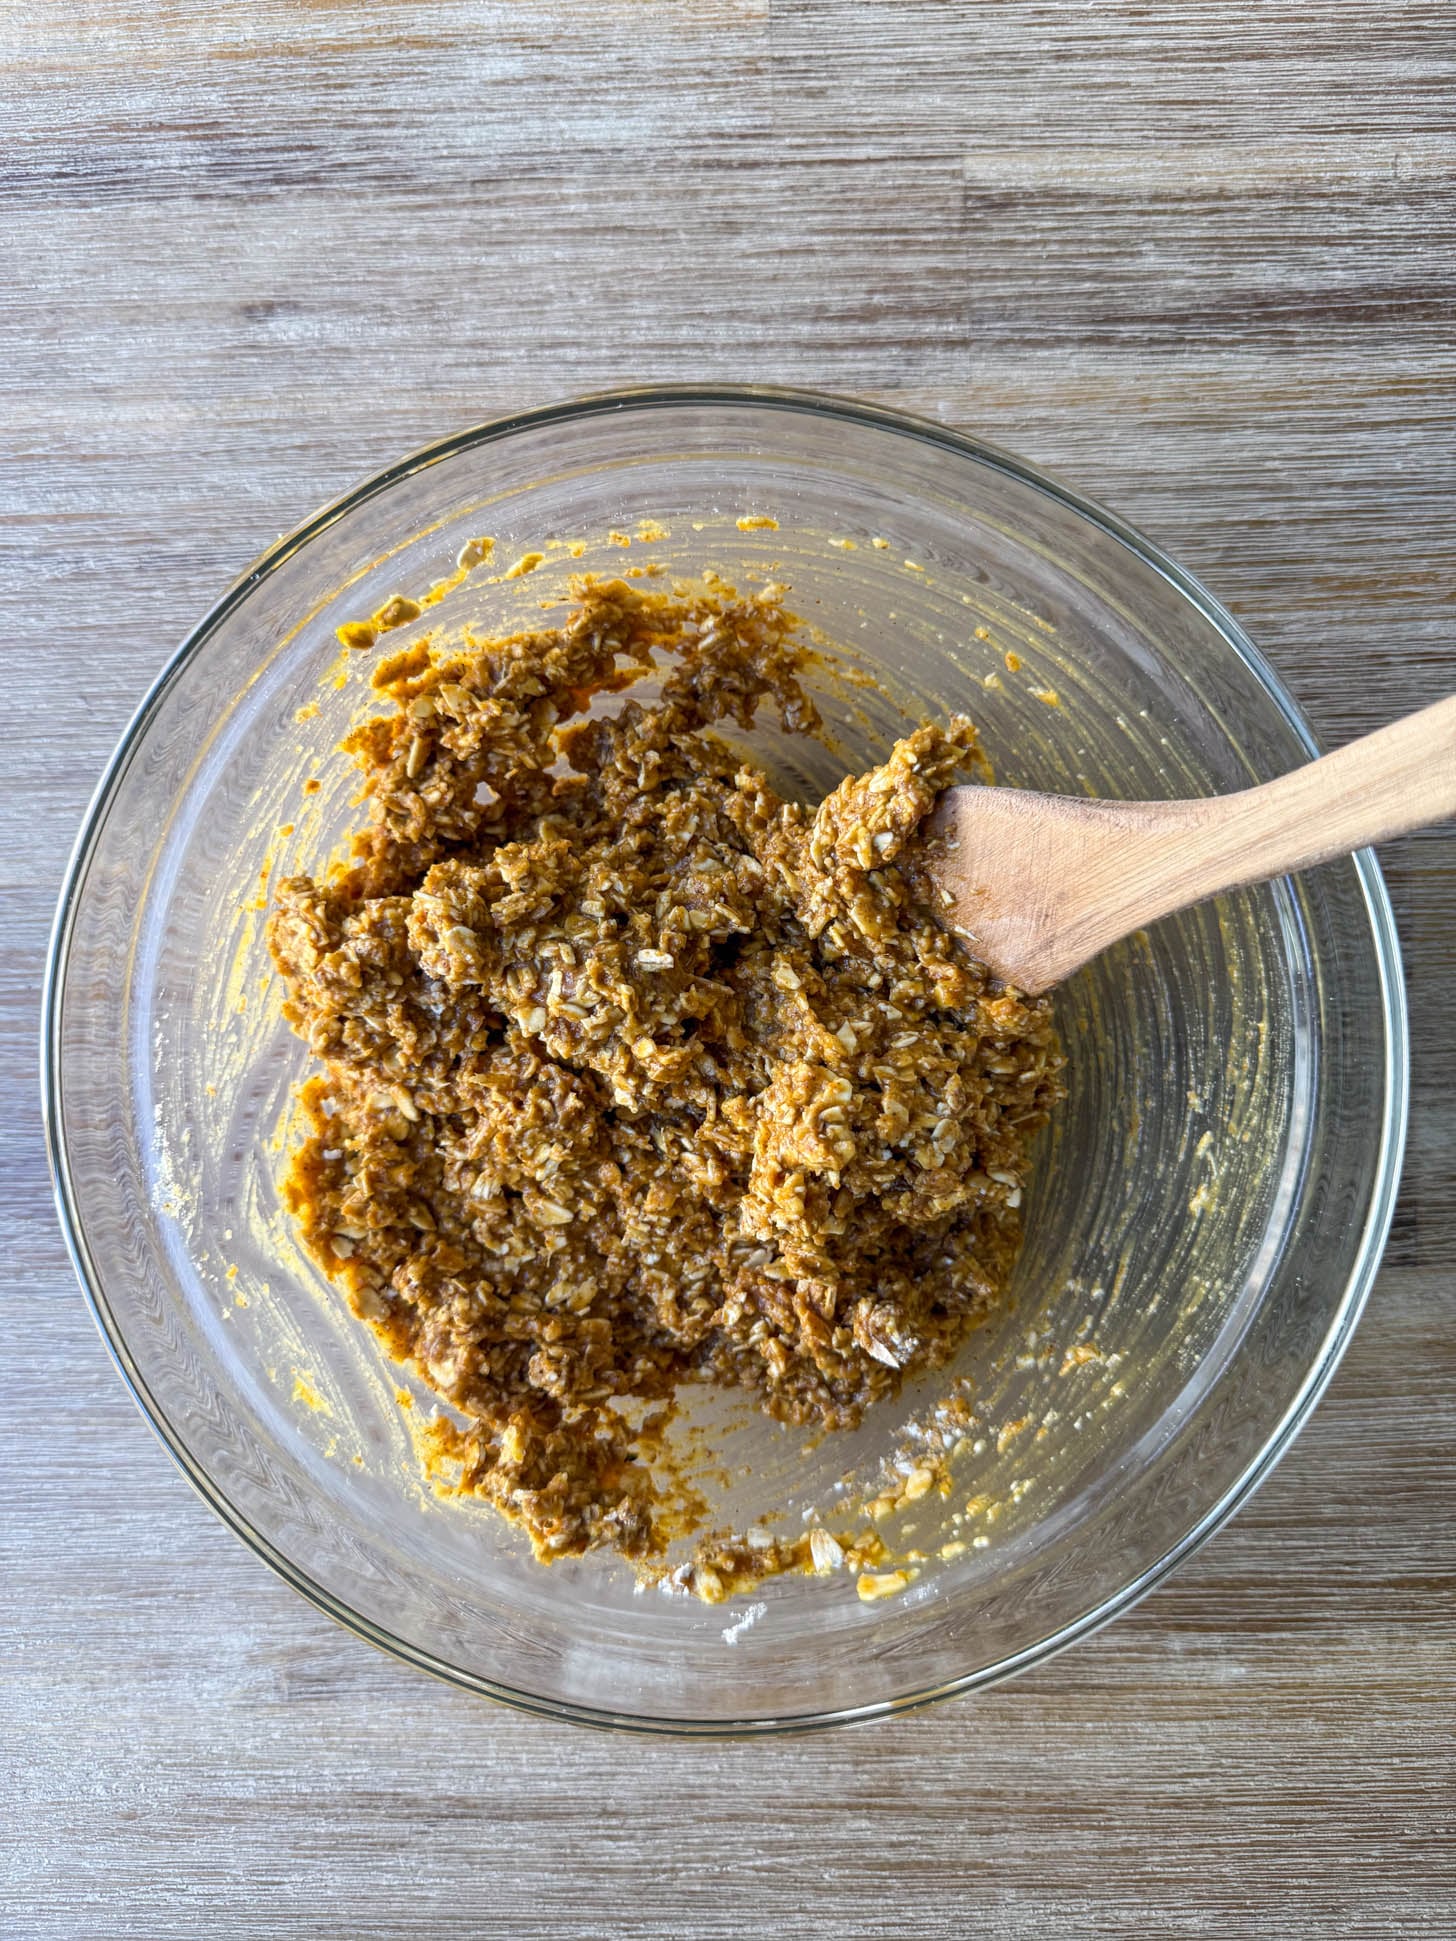
Step 4: Stir the wet ingredients together first, then fold everything together into a dough.
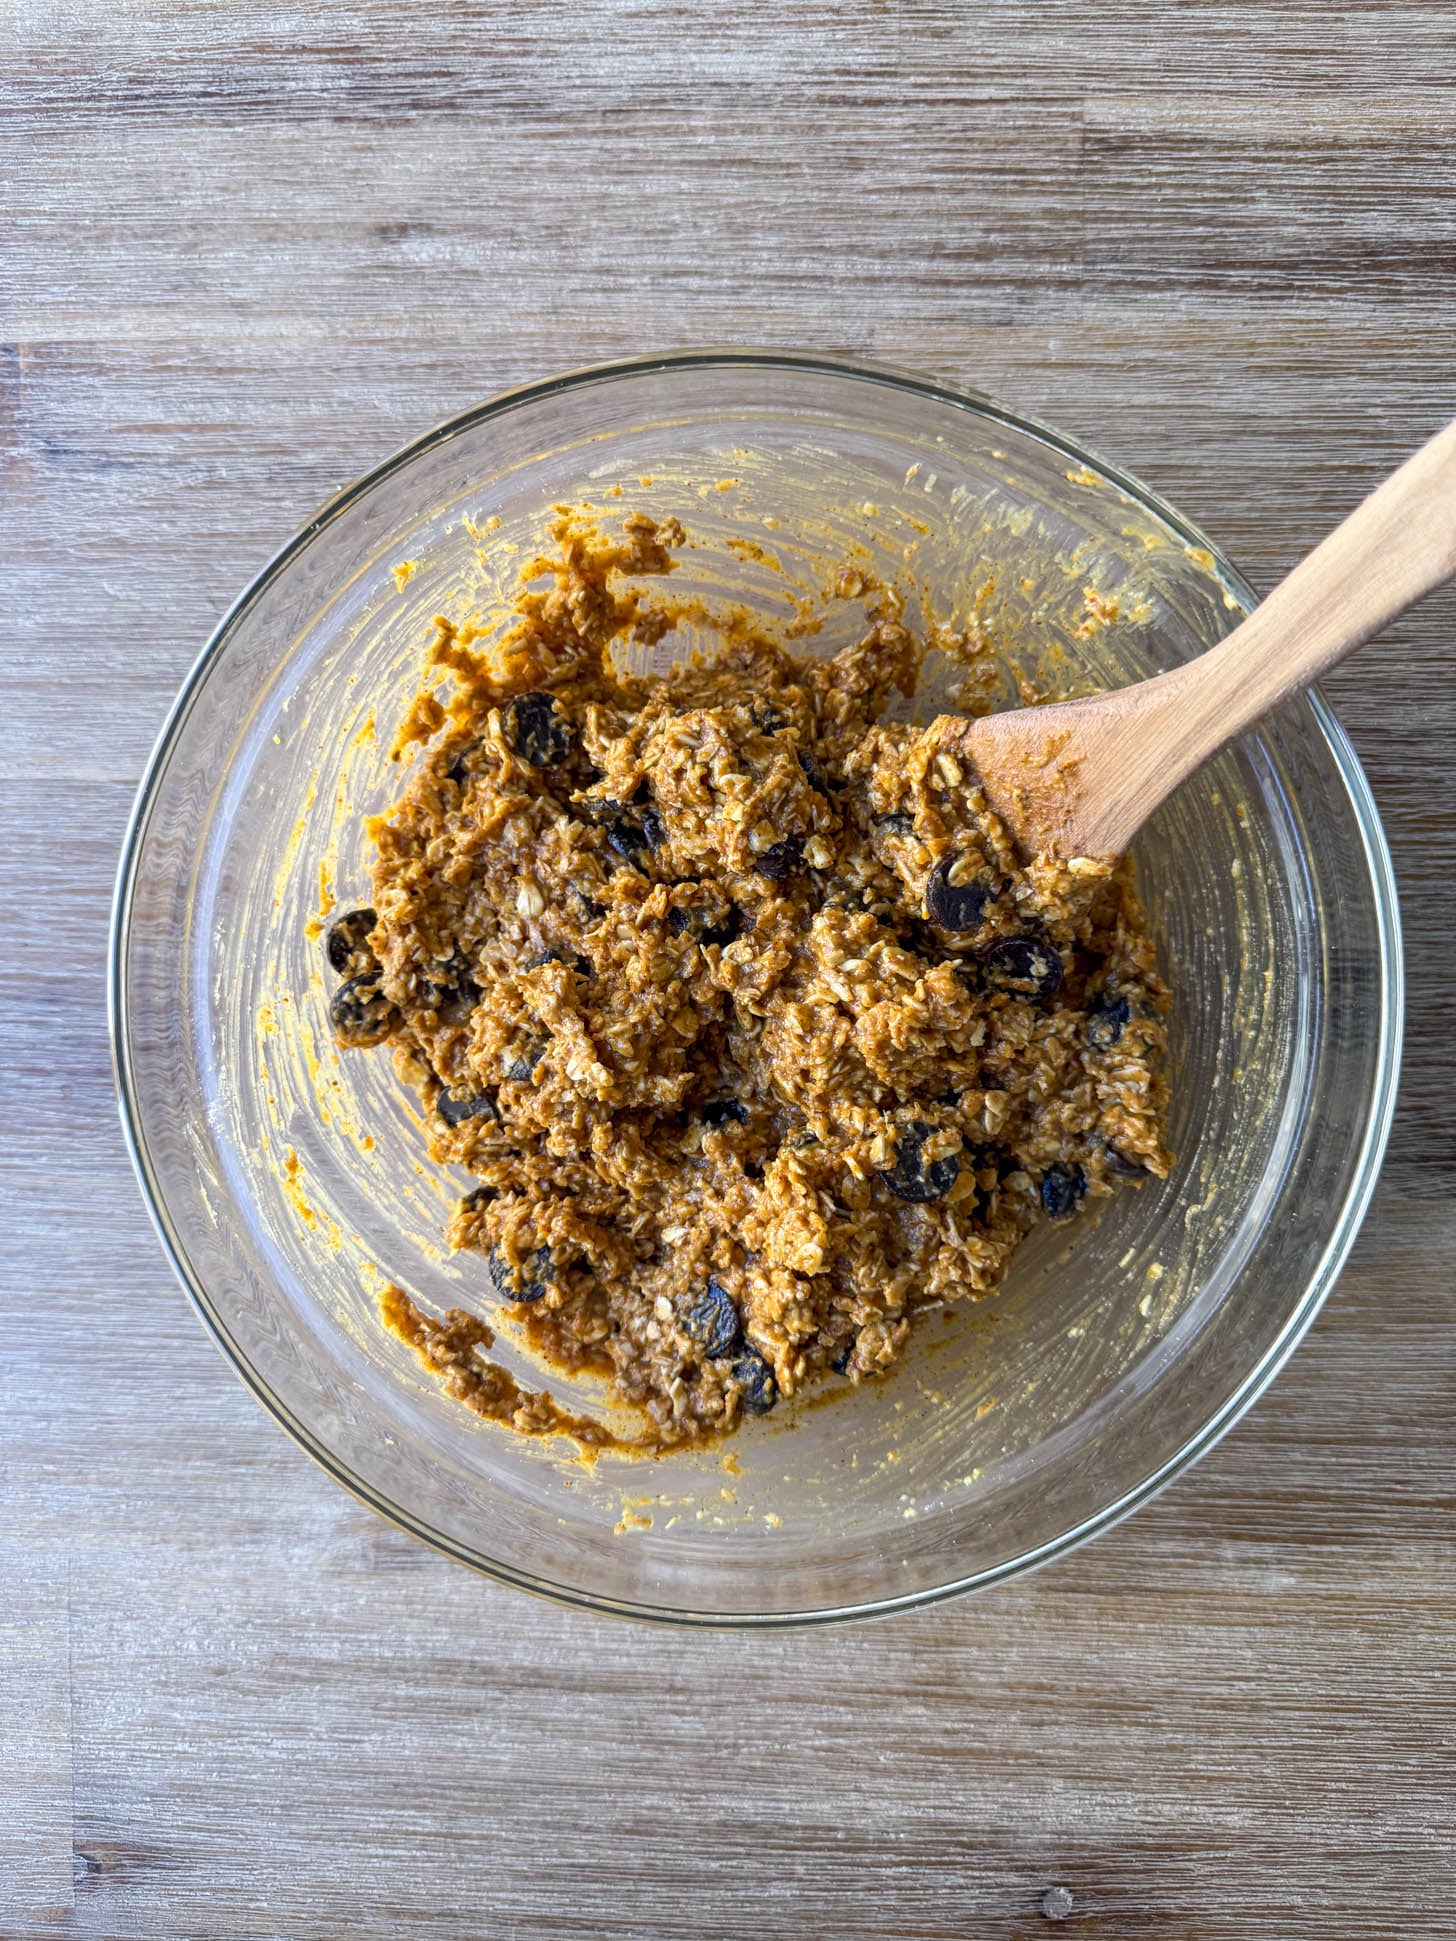
Step 5: Fold in the chocolate chips.
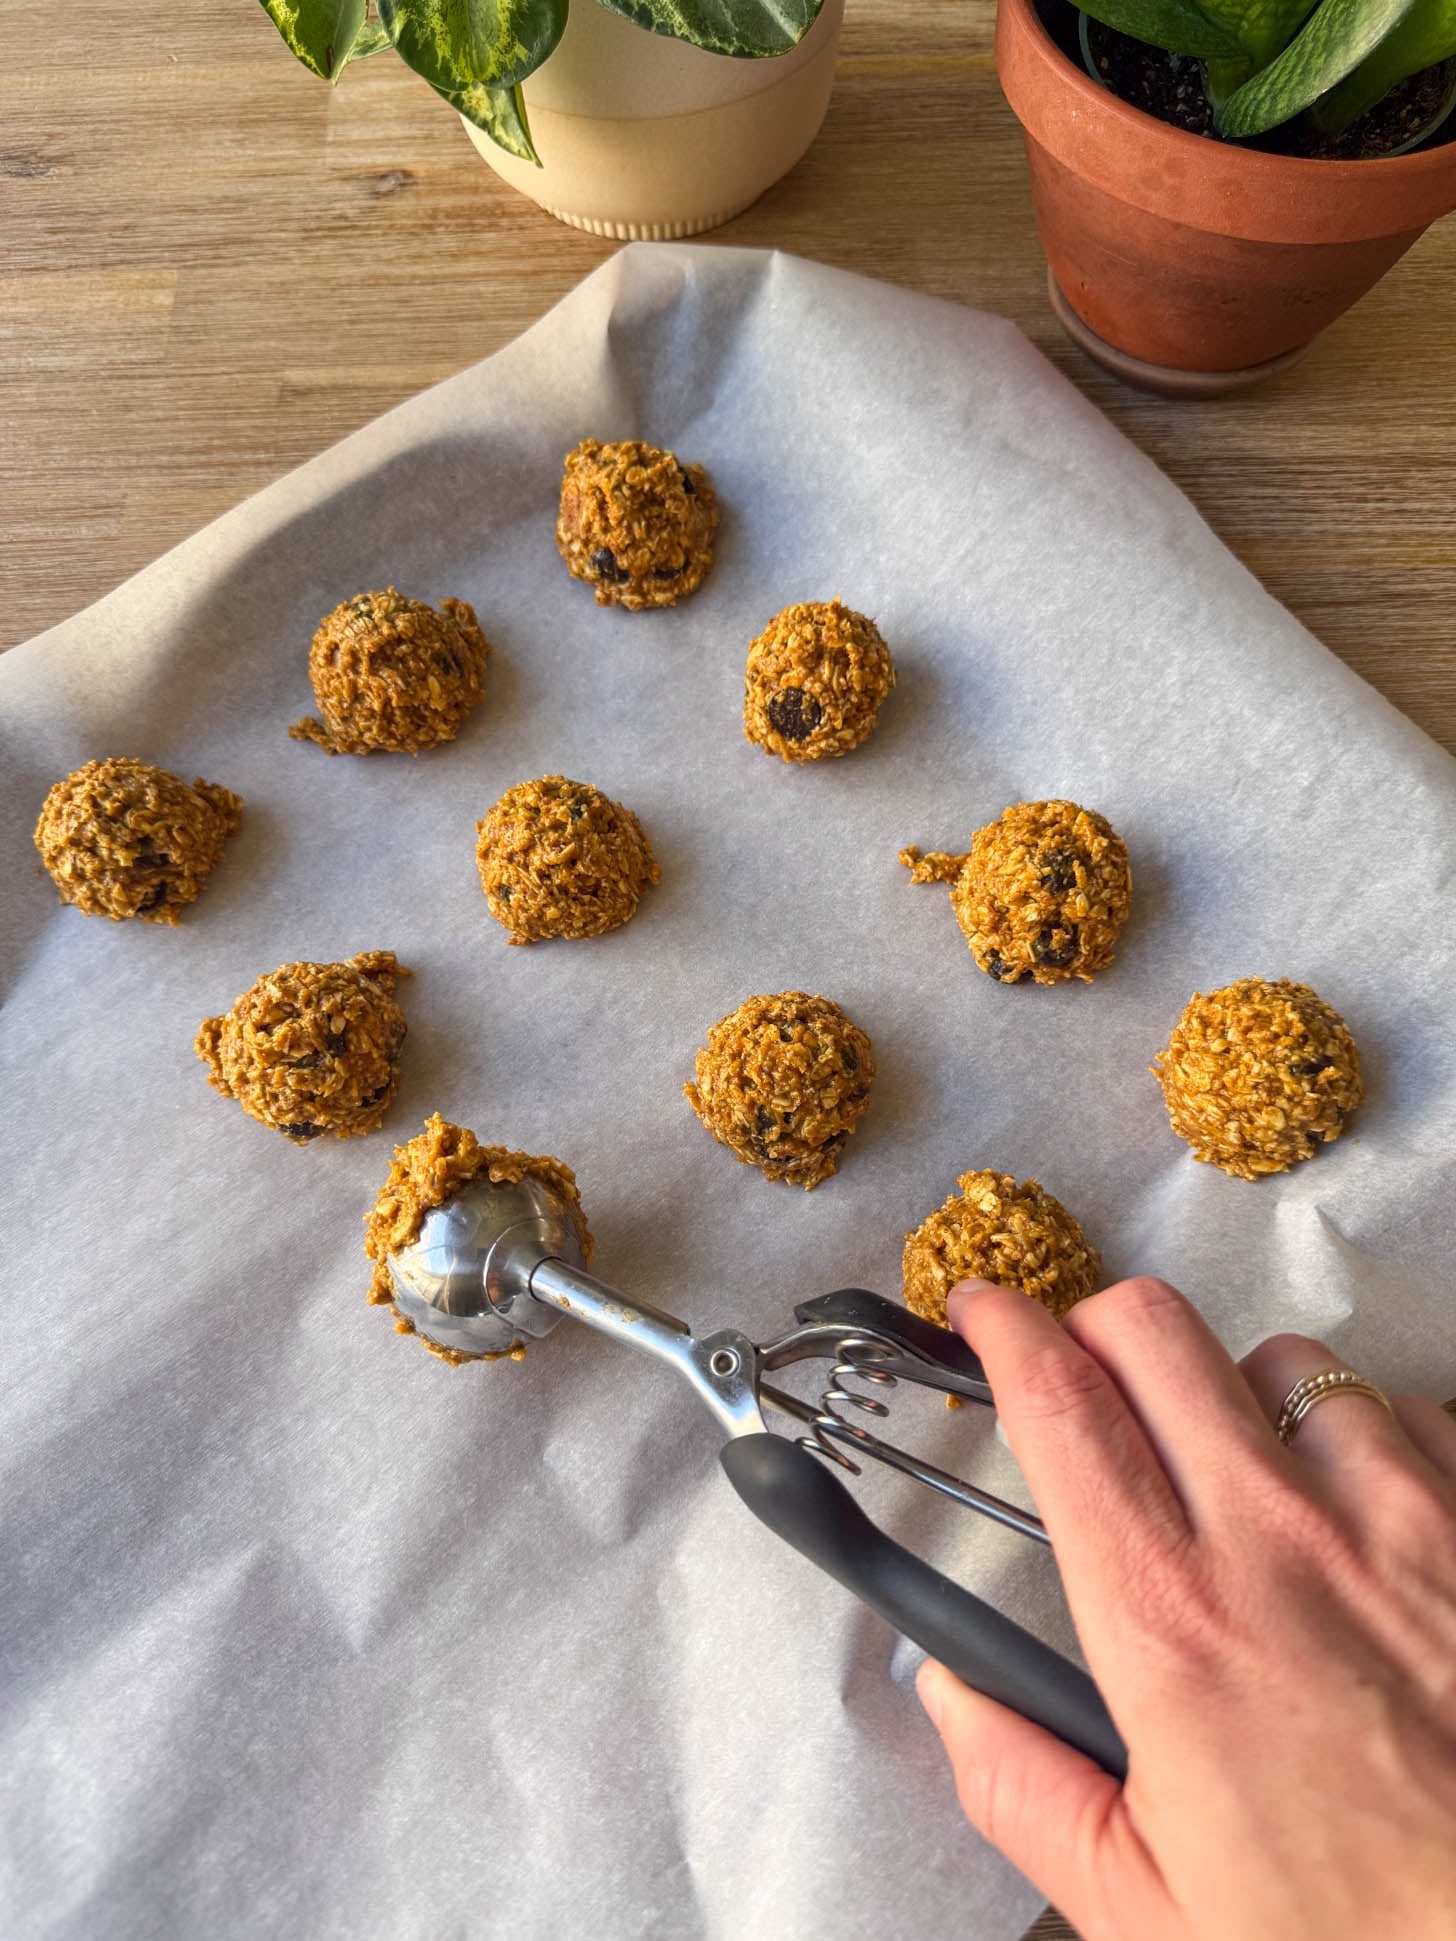
Step 6: Use a cookie scoop to drop 12 mounds onto a baking sheet lined with parchment paper. If you want flatter cookies, press each one down gently with your hand or a fork, as these won’t spread on their own. Bake for 13-15 minutes at 350° Fahrenheit until the edges look firm. Let them rest on the baking sheet for 5 minutes before transferring to a cooling rack.
Recipe Tips & Tricks
- Press them down before baking: These cookies don’t spread like a traditional cookie, so you do need to flatten them a little before they go in the oven. A light press with your palm or the back of a fork does the trick!
- Go the full 15 minutes if you want a firmer cookie: At 13 minutes they’ll be a little softer and more delicate. At 15 minutes they firm up a bit more and are easier to pick up. I usually go the full 15!
- Let them cool on the baking sheet: Don’t skip the 5-minute rest on the baking sheet. They firm up as they cool and this step makes a big difference in the final texture. Moving them too soon can cause them to fall apart.
- Use a cookie scoop: This keeps all your cookies the same size so they bake evenly. It also makes the whole process faster and less messy!
Storage & Reheating
- Counter: Store in a sealed container on the counter for up to 2 days.
- Fridge: Store in an airtight container in the fridge for up to 5 days.
- Freezer: These freeze really well! Let them cool completely, then store in a freezer-safe bag or container with a piece of parchment between layers. Thaw on the counter for a few minutes before eating.
Frequently Asked Questions
I would not recommend it. Blending the oats into a flour is what gives these cookies their structure. Whole oats won’t absorb the moisture the same way and the cookies will have a completely different (and not great) texture.
Yes! Be sure the chocolate chips you’re using are vegan and then you’re good to go!

In a Lunch Rut?
Grab your FREE 10-Day Lunchbox Recipe Meal Plan! Great for adults and kids!
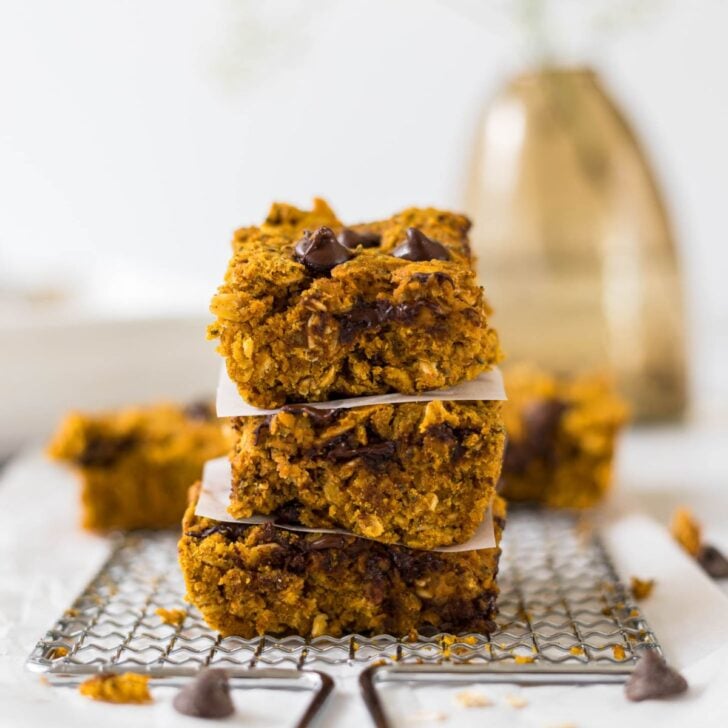
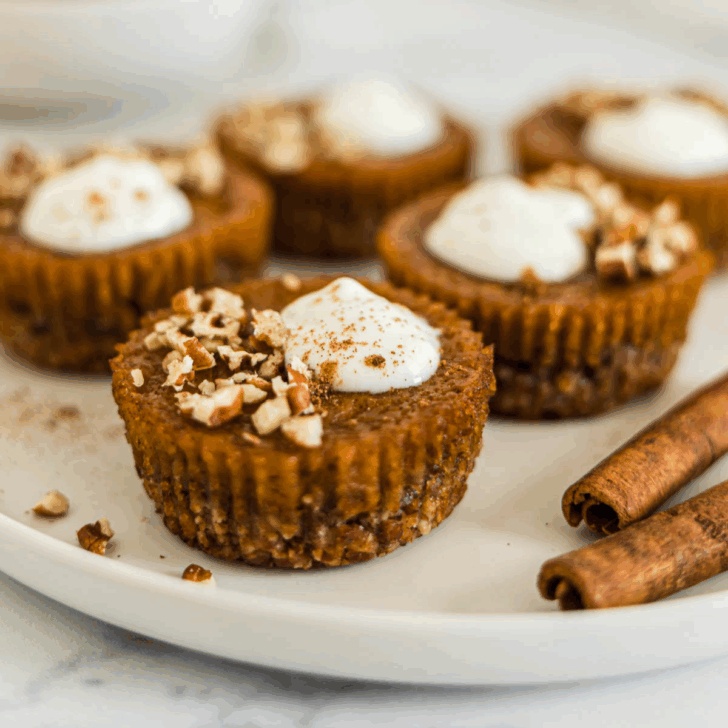
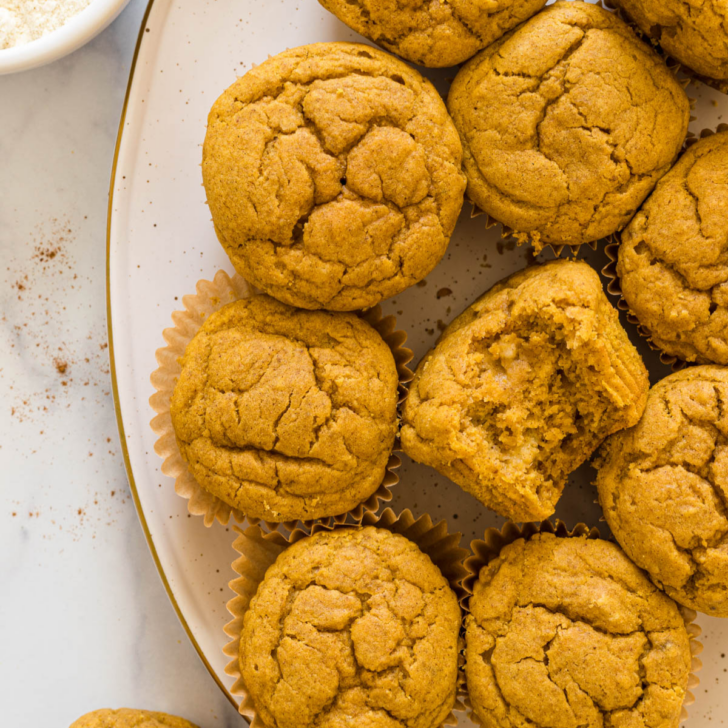
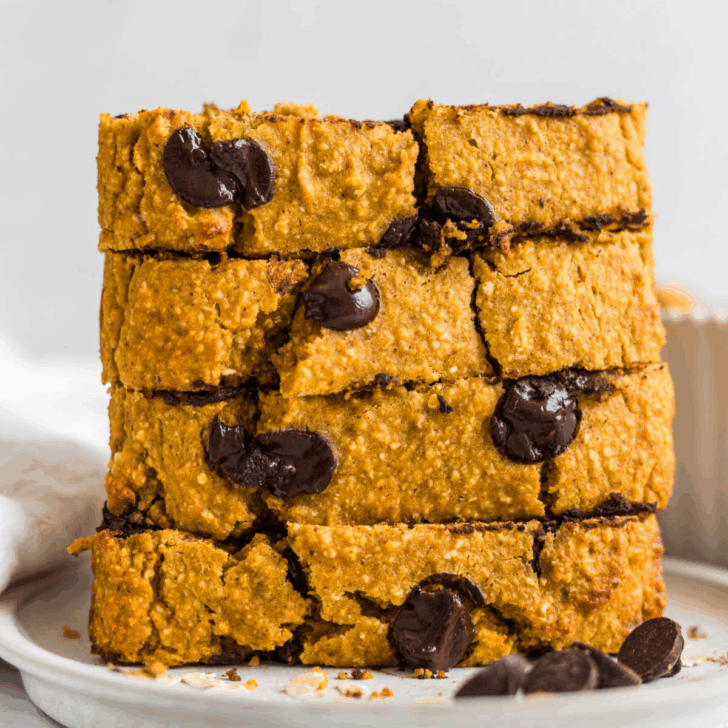
More Healthy Pumpkin Dessert Recipes You’ll Love!

Did you try this recipe?
Let me know how you liked it by leaving a comment and rating below! Or tag me on Instagram and share what you made!
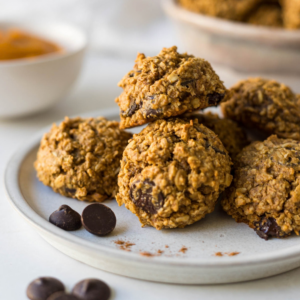
Gluten-Free Pumpkin Chocolate Chip Cookies
Ingredients
- 1 ½ cups certified gluten-free oats, blended into a flour
- 1 teaspoon pumpkin pie spice
- ½ teaspoon baking soda
- ¼ teaspoon salt
- ⅓ cup pure pumpkin puree
- ⅓ cup creamy almond butter, using a drippy, unrefrigerated almond butter is easiest to work with!
- ⅓ cup 100% pure maple syrup, or honey, if not vegan
- 1 teaspoon pure vanilla extract
- ½ cup dark chocolate chips
Instructions
- Preheat oven to 350°Fahrenheit and line a baking sheet with parchment paper.
- In a high-speed blender, blend oats to form a flour. They should look mostly ground.
- In a medium mixing bowl, whisk together the oat flour, pumpkin pie spice, baking soda, and salt.
- Push the dry ingredients to the side to make a well in the center of the bowl. Pour the pumpkin puree, almond butter, maple syrup, and vanilla right into the center. Stir the wet ingredients together first, then fold everything together into a dough.
- Fold in the chocolate chips.
- Use a cookie scoop to drop 12 mounds onto the baking sheet. If you want them to lie flat, press down gently with your hand or a fork to flatten them slightly (they won’t spread on their own).
- Bake for 13-15 minutes (I like mine at 15 minutes, to get them a little firmer!). Let them sit on the baking sheet for 5 minutes to cool and firm up more, before moving them to a cooling rack.