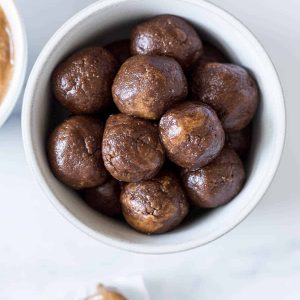
Chocolate Almond Balls (No-Bake!)
This website uses affiliate links which may earn commission for purchases made at no additional cost to you.
These Chocolate Almond Balls have been a huge hit in my house! They’re really easy to make, require no baking, and are refined sugar-free!

My kids also love these No-Bake Apricot Energy Balls (V/GF) and Healthy Banana Carrot Muffins!
No Bake Almond Butter Protein Balls
I wanted to make a healthy snack for my kids, and for myself (who am I kidding?), that also tasted delicious and was quick to make….enter these Chocolate Almond Balls.
Oh man, are they goooood! My kids have been asking for them non-stop and my husband and I have been sneaking them multiple times a day.
Why You’ll Love This Chocolate Almond Ball Recipe
- Easy. Simply blend the ingredients in a food processor and roll the dough into little balls!
- Quick. They’re ready in about 5 minutes (depending on how quickly you can roll the balls!)!
- Really delicious. Oh my goodness, these Almond Butter Protein Balls are SO yummy!
- Great for meal prepping. These can be prepped ahead of time and since they’re so quick to make, they make for an approachable meal prep snack!
Chocolate Almond Ball Ingredients
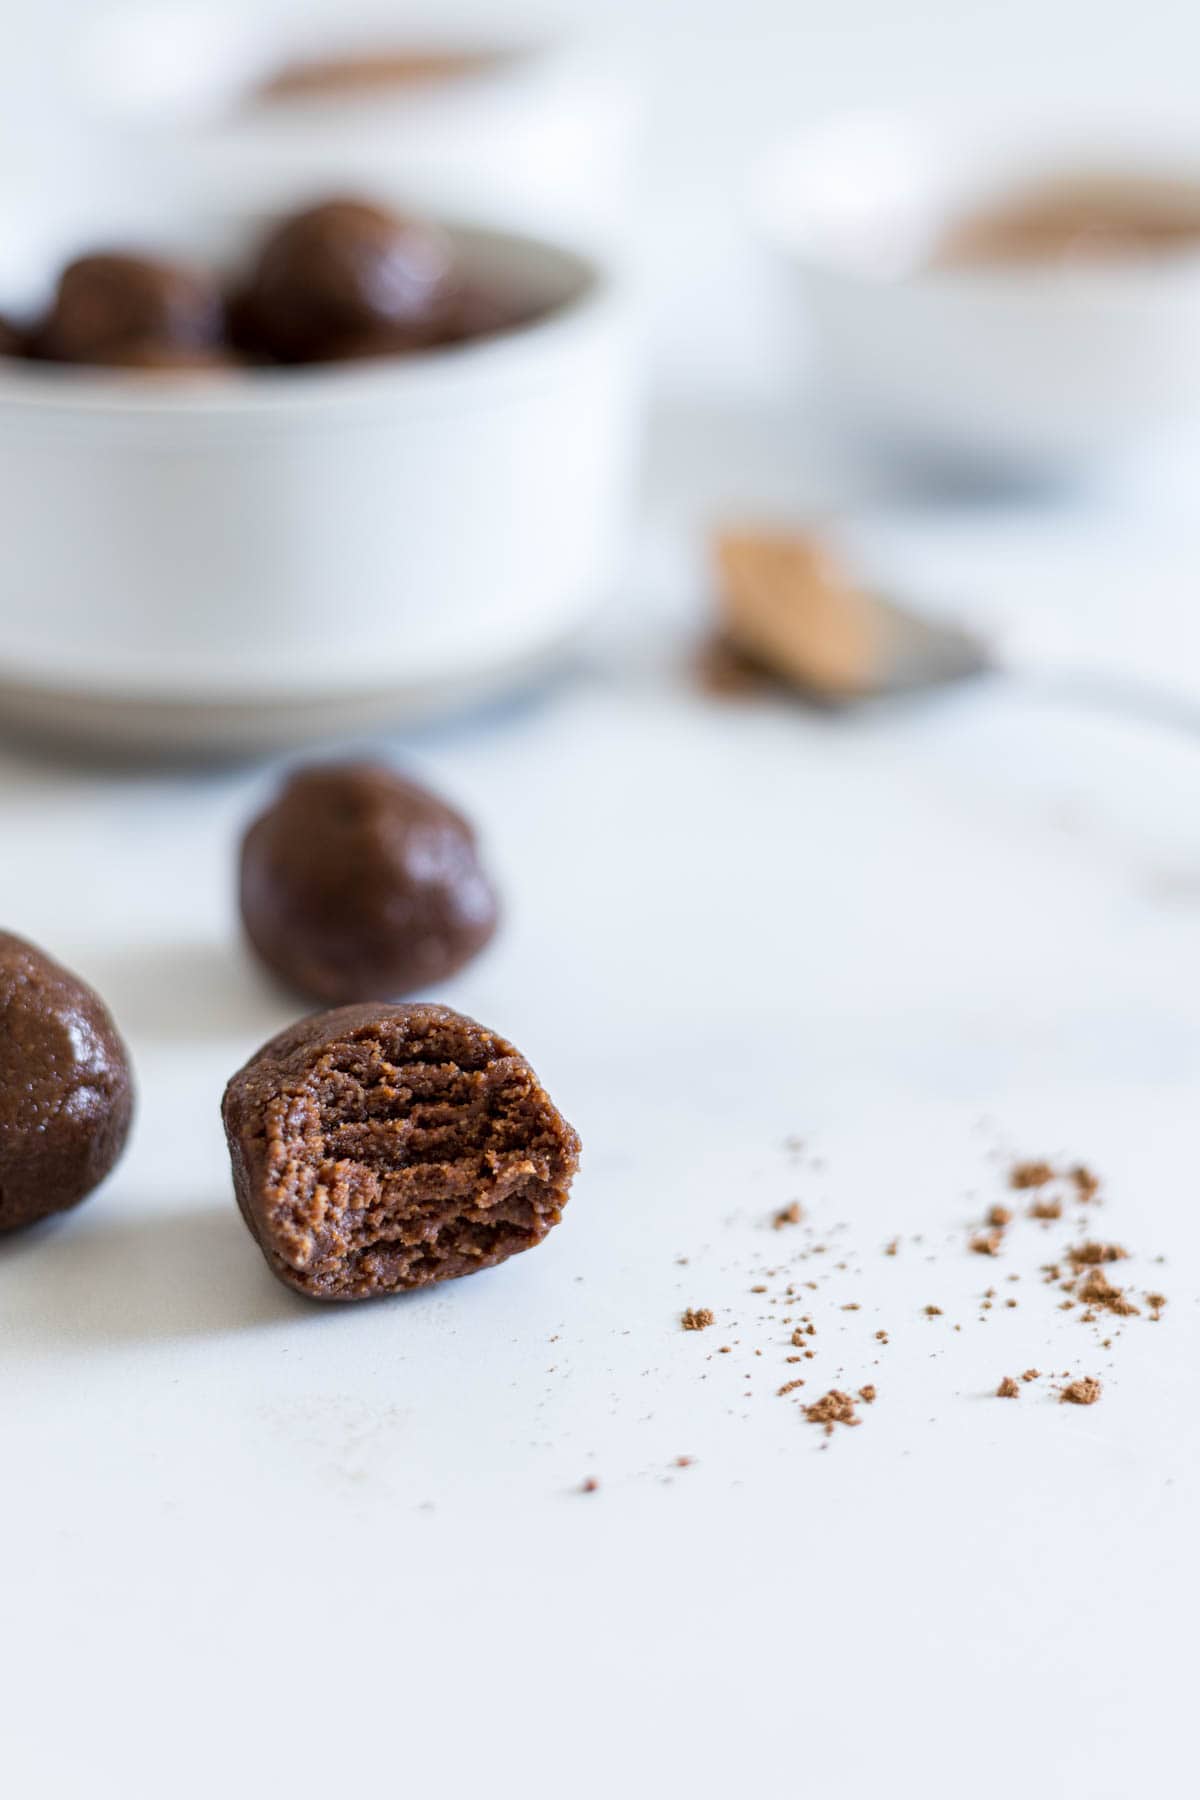
- Almond butter: the star of the show, the almond butter has an amazing flavor and provides protein and healthy fat.
- Almond flour: this helps make it so the balls aren’t too sticky and are easy to eat.
- Vanilla extract: for flavor.
- Cocoa powder: the cocoa powder serves as a no-sugar way to make these “chocolate” almond balls. I used Hershey’s Cocoa 100% Cacao Unsweetened.
- Maple syrup: used to subtly sweeten the almond butter balls.
- Salt: used for flavor.
How to Make Chocolate Almond Balls
STEP 1 – Process ingredients
In a food processor, combine all of the ingredients and process until combined and the mixture starts to clump together.
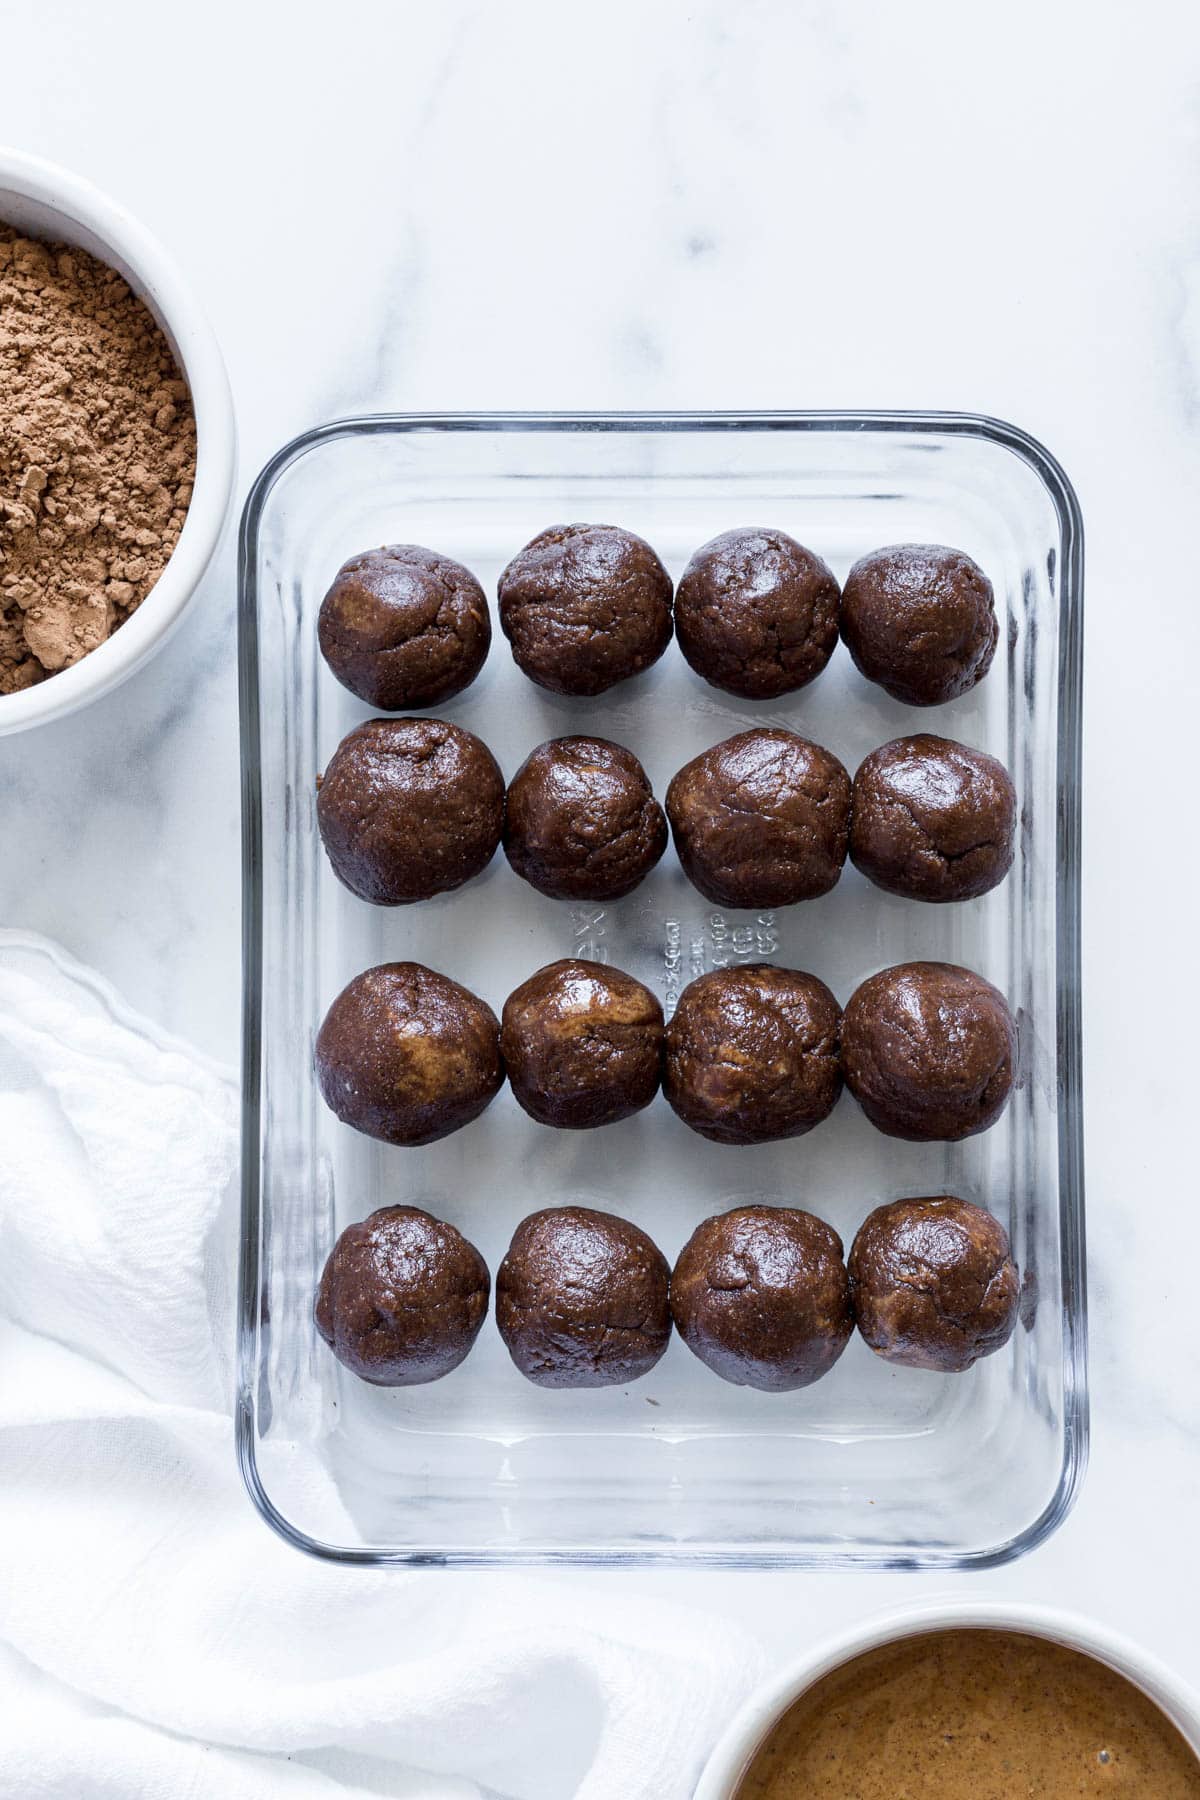
STEP 2 – Roll into balls
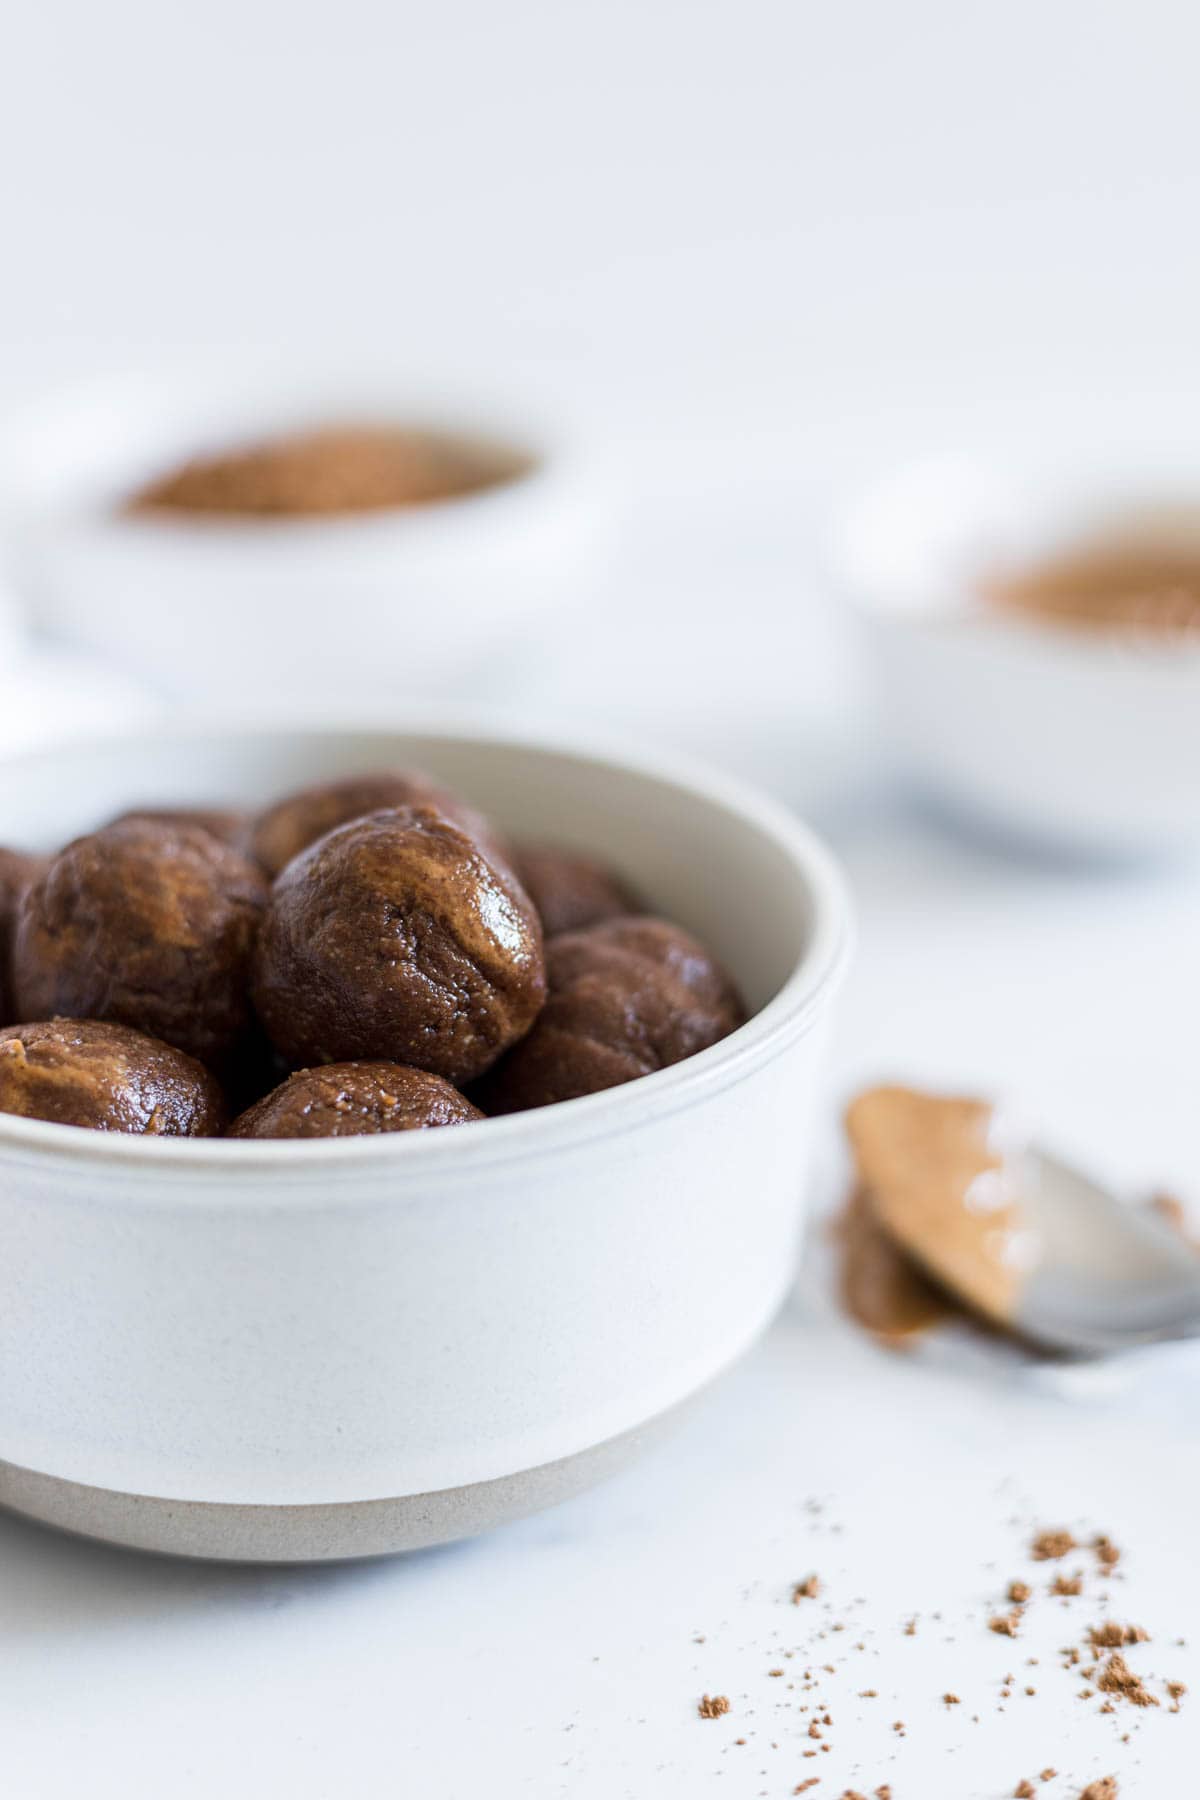
Using a spoon, scoop out about a tablespoon of the mixture and roll it into a ball. Transfer to a storage container. Repeat with the rest of the mixture. Serve right away or store for later use.
STEP 3 – Store in the refrigerator
Seal the container and store the Chocolate Almond Balls in the refrigerator for about one week or so.
How to Store
Store Chocolate Almond Balls in an air-tight container in the refrigerator for about one week or so.
In a Lunch Rut?
Grab your FREE 10-Day Lunchbox Recipe Meal Plan! Great for adults and kids!
More Snack Recipes You’ll Love!


Did you try this recipe?
Let me know how you liked it by leaving a comment and rating below! Or tag me on Instagram and share what you made!
Chocolate Almond Balls
Ingredients
- ½ cup almond butter
- ½ cup almond flour
- 1 teaspoon vanilla
- 2 tablespoons cocoa powder
- 3 tablespoons maple syrup
- ⅛ teaspoon salt
Instructions
- In a food processor, combine all of the ingredients and process until combined and the mixture starts to clump together.
- Using a spoon, scoop out about a tablespoon of the mixture and roll it into a ball. Transfer to a storage container. Repeat with the rest of the mixture.
- Serve the Chocolate Almond Balls right away. Store any leftovers in an air-tight container and keep in the refrigerator for about one week or so.
These were amazing Kaileigh!! Highly recommend!
Yay, Cynthia!! I’m so glad you liked them! Thank you so much for trying them out and for sharing how you liked them! 🙂
These are so good and so easy! I rolled them in finely grated coconut so they wouldn’t be sticky ( and because I love coconut!) This is the FIRST comment I have ever left for a recipe on the internet, that is how good these are!
Oh, Barb, you completely made my day! Thank you so much for taking the time to leave your very first review of a recipe on the internet! I’m honored. I’m so happy that you enjoyed them and what a great idea to roll them in coconut! I’m definitely trying that next time! Thanks again. 🙂
These really kill my chocolate cravings, they are soo good ??
Hi Mary! Haha aww, I’m so glad they squash those chocolate cravings and that you enjoyed them!! Thanks so much for taking the time to leave a review! 🙂
These are my favorite! They are so easy and delicious. I usually make two batches and freeze them to have on hand. I’ll make one batch without cocoa powder for my husband (I sub 2 extra tablespoons of almond flour for the cocoa powder) since he’s not a huge fan of chocolatey things and then one regular batch. I just made a double batch and will be taking them on our spring break road trip. Thanks for the great recipe!
5 stars!
Thank you so much, Allie!!
Hi Allie! I’m so happy to hear that you love these chocolate almond balls! What a great idea to double the recipe and freeze some for later! I need to start doing that! Also, I love your idea of making a version without chocolate for your husband. That way sounds really yummy and I want to try it! Thank you so much for taking the time to leave a review! I really appreciate it! 🙂