Vegan Peanut Butter Rice Krispie Treats
This website uses affiliate links which may earn commission for purchases made at no additional cost to you.
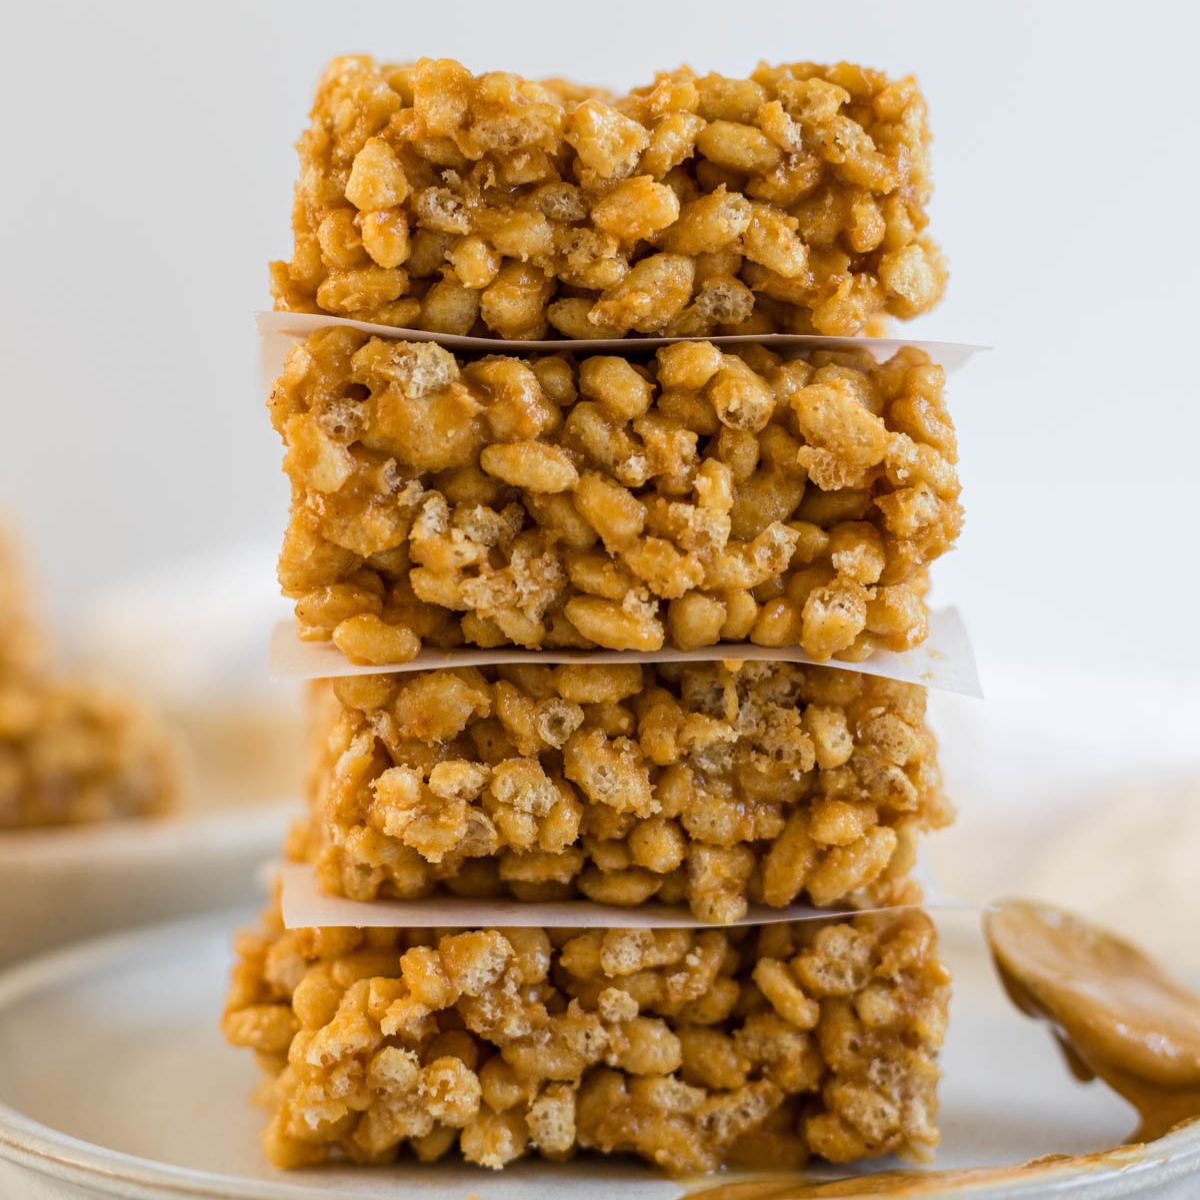
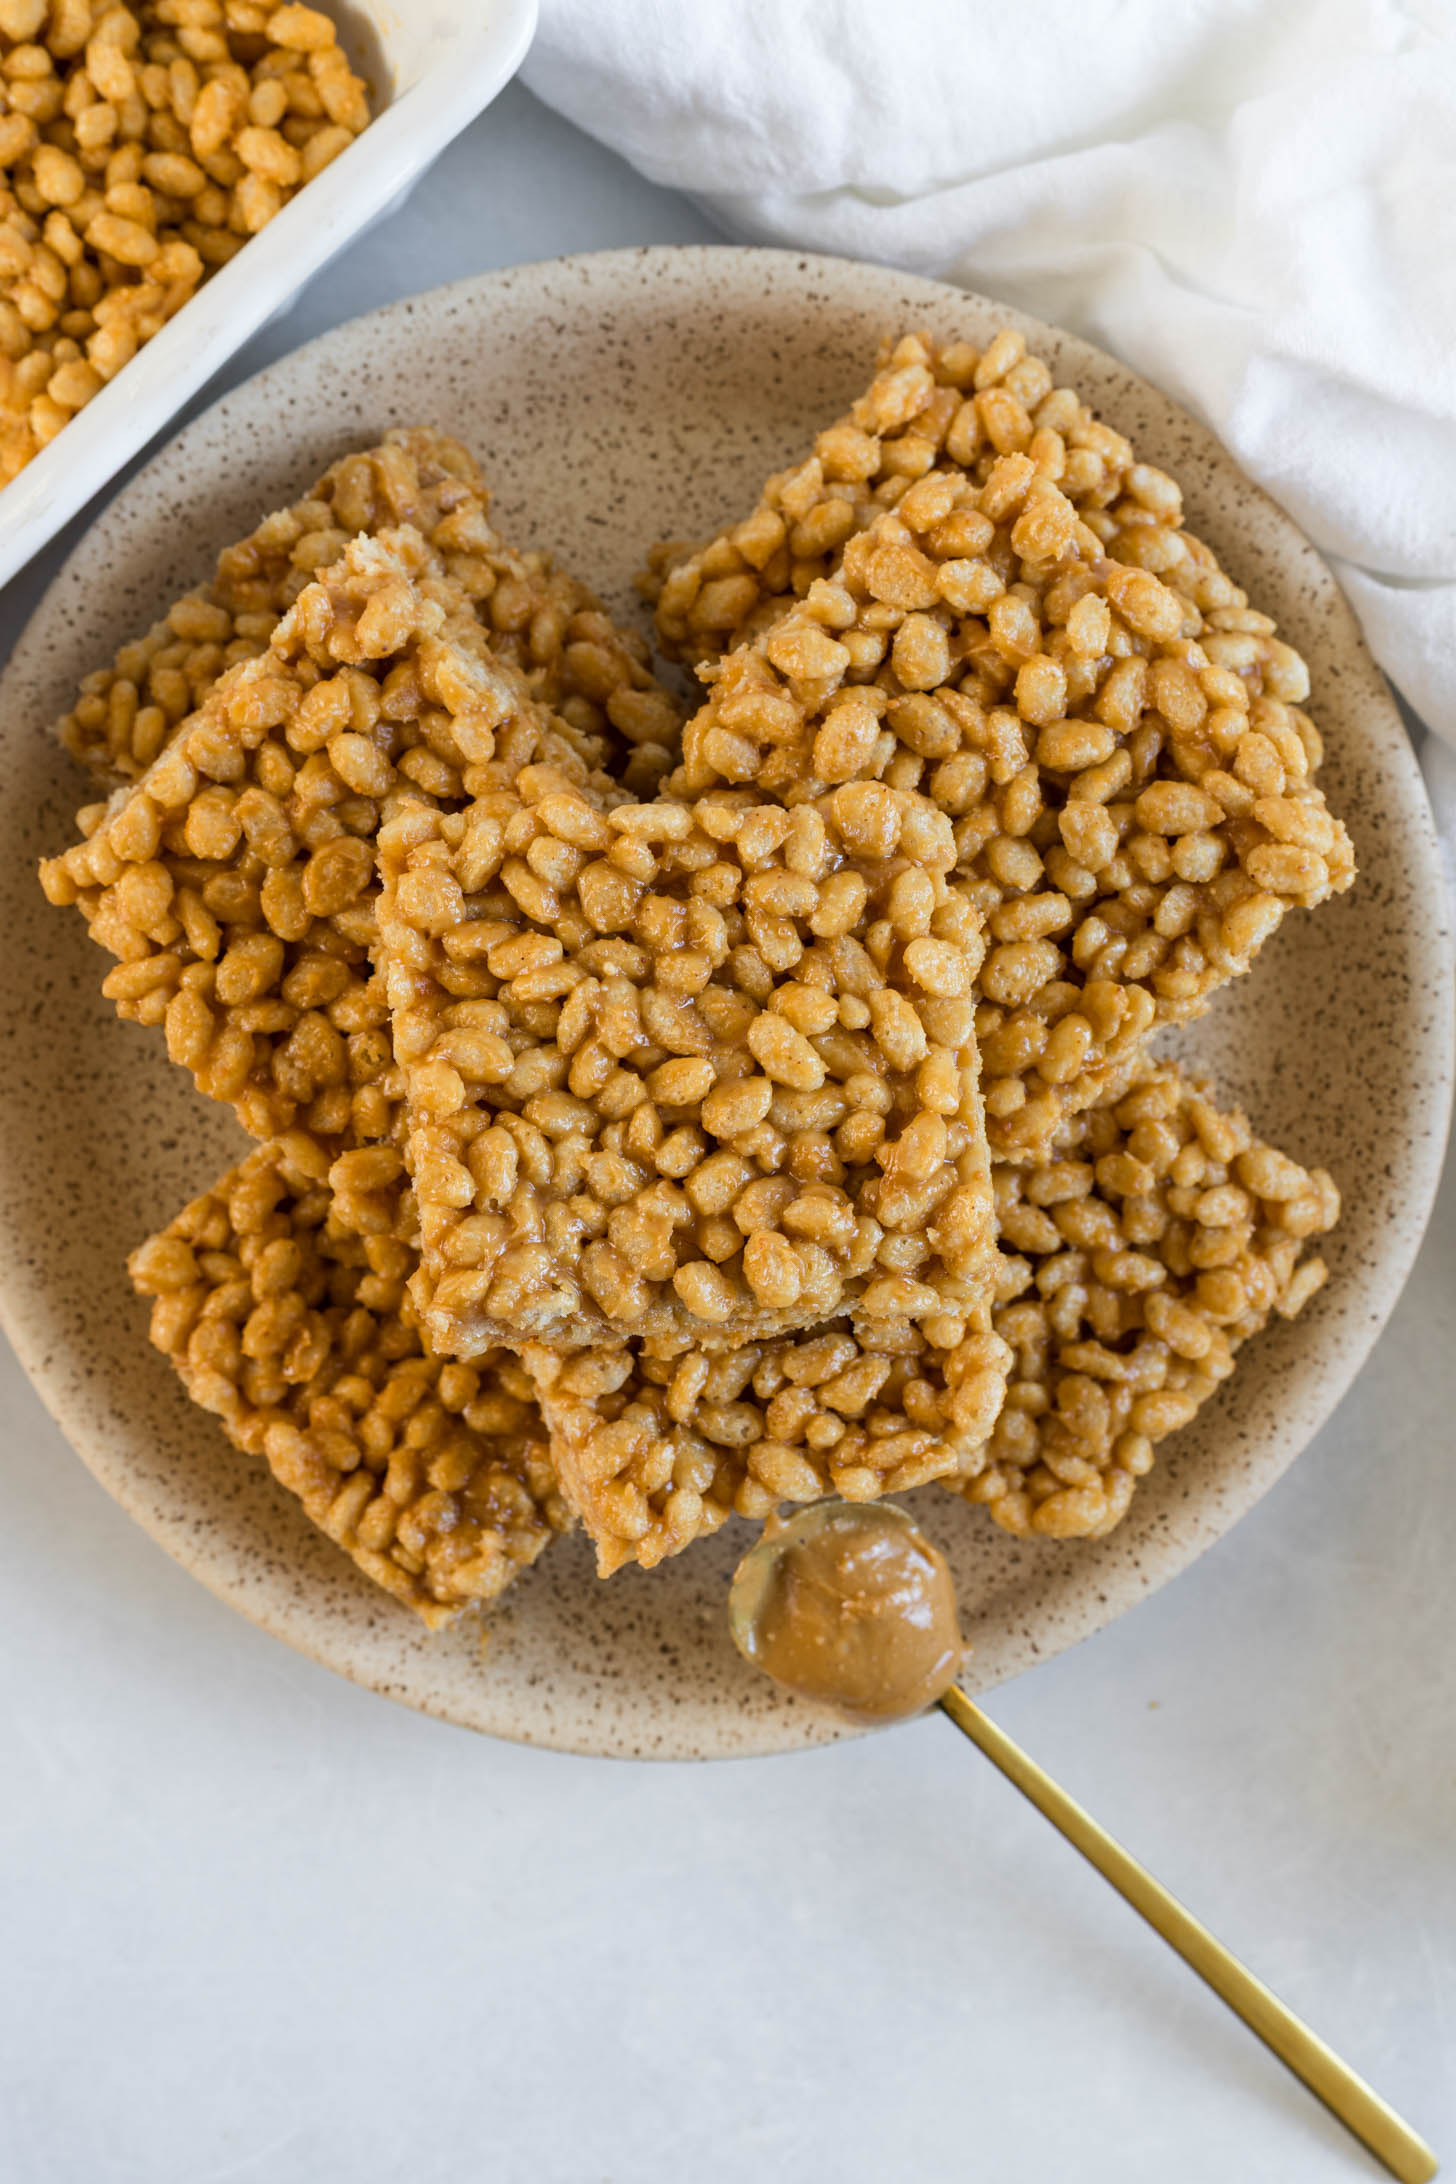
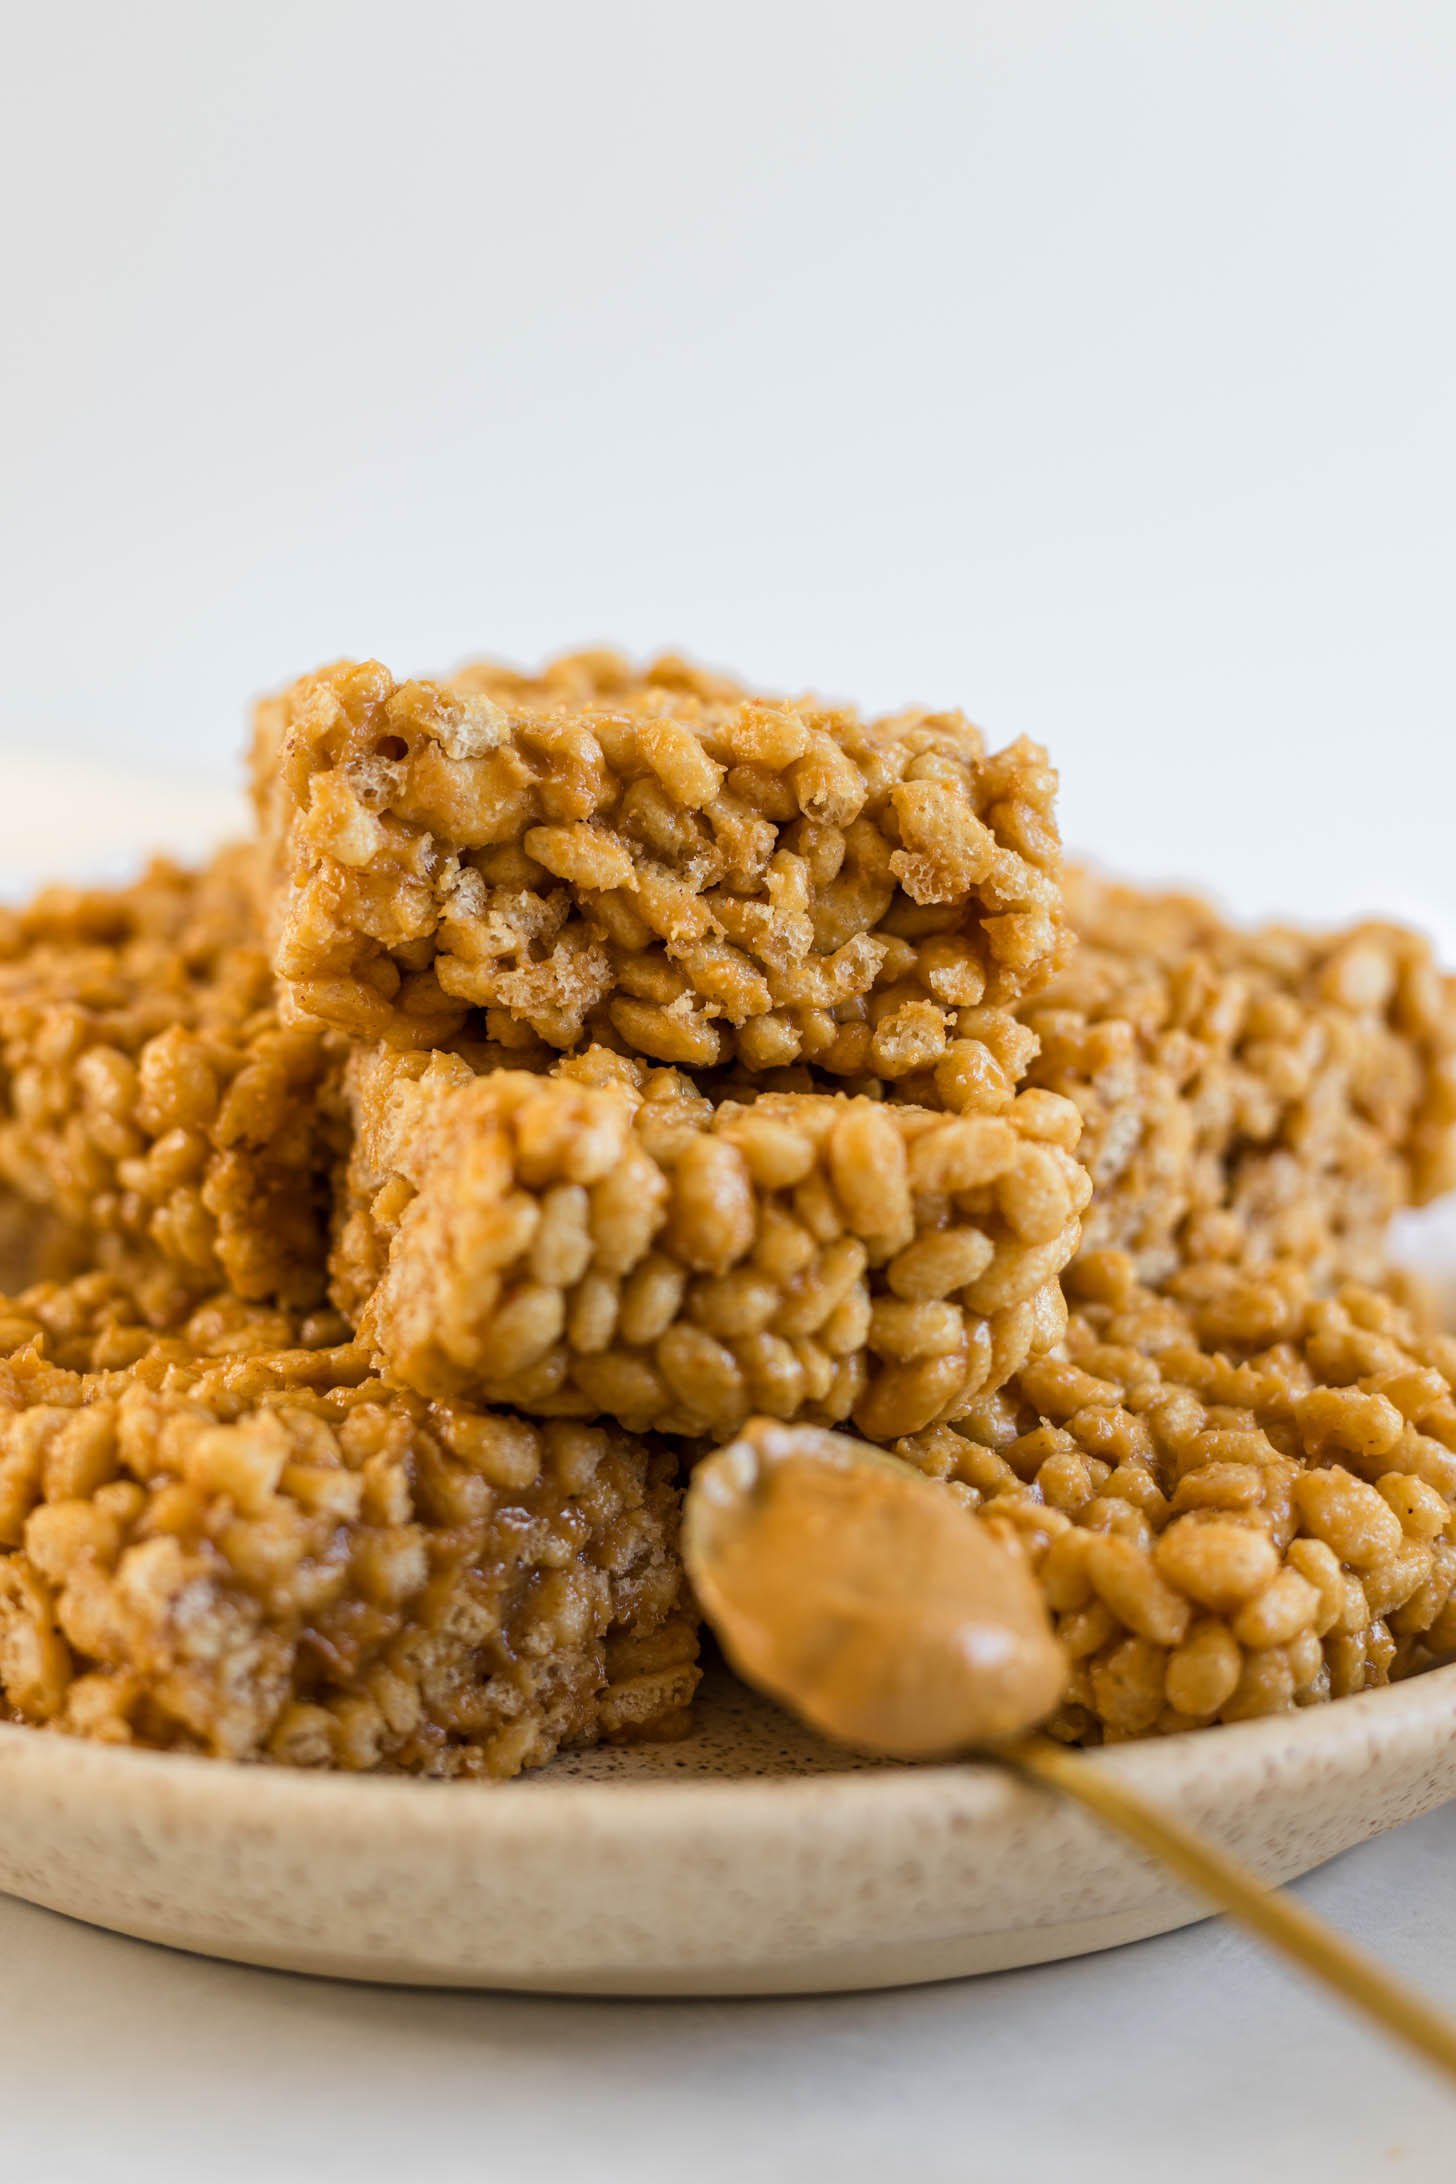
These Vegan Peanut Butter Rice Krispie Treats have 5 ingredients, take 5 minutes to prep, and have no refined sugar or butter. They’re absolutely delicious and are a healthier version of a classic treat!
My mission is to help busy moms nourish themselves and their families with simple, delicious recipes. These rice krispie treats show how easy it can be to enjoy better-for-you versions of the foods you love!
These are vegan rice krispie treats with no marshmallows. As much as I love marshmallows, I opted not to use them for this recipe. This was for two reasons: 1) Marshmallows are not vegetarian; 2) Vegan marshmallows are still filled with sugar.
So, to help the peanut butter rice krispie bar stick together…you guessed it! I used peanut butter!
They turned out SO delicious!!! They’re actually really hard to stop eating, including for my kids!
My 7-year-old rated this recipe a 20 out of 10, while my 4-year-old gave me a big thumbs up while he chewed on a mouthful of a rice krispie treat. Since my kids are my number one taste testers, I felt that their positive review meant the recipe was worthy to share with you!
Recipe Ingredients
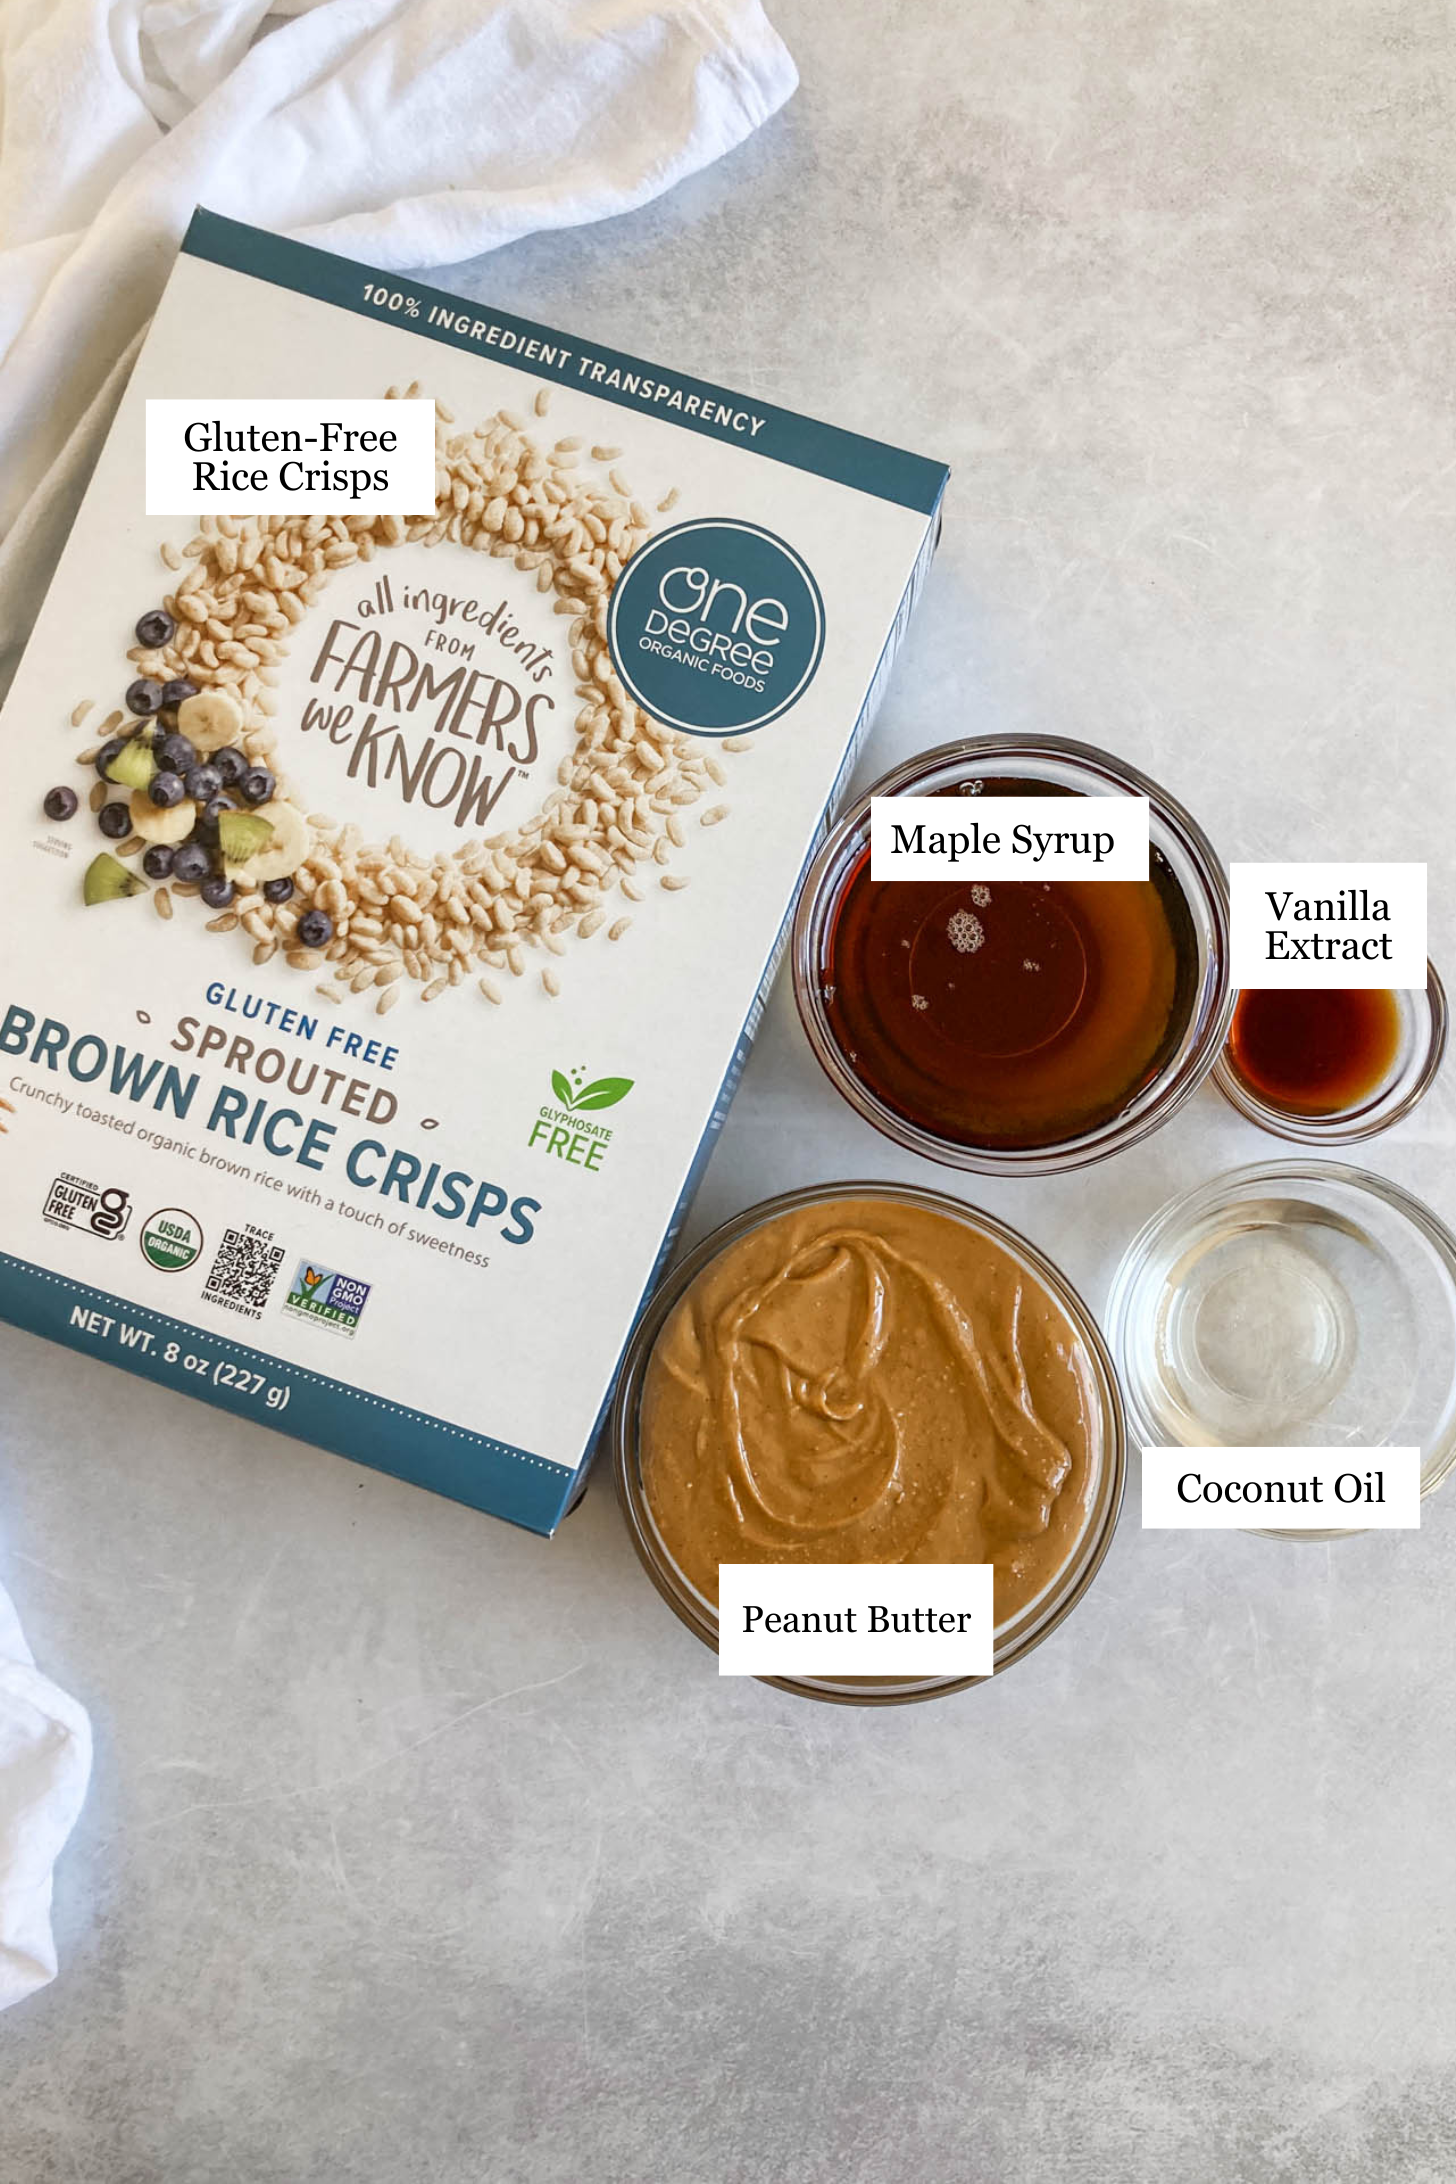
You’ll need the following ingredients to make these Vegan Rice Krispie Treats:
Ingredient Notes
- Rice Krispies: I chose to use Brown Rice Crips instead of the classic Rice Krispies. I didn’t realize that “sugar” was the second ingredient and that they actually had 4 grams of added sugar in them. One Degree Organics Brown Rice Crisps uses coconut sugar and the added sugar content is 1 gram.
- Peanut Butter: I use a no sugar added peanut butter. You are welcome to use any peanut butter, nut butter, or sunflower seed butter here.
Additions & Substitutions
- Brown Rice Crips: Feel free to use the classic Rice Krispies if you’d like. You can also use Cocoa Crips if you’d like them to be a chocolate peanut butter treat.
- Peanut Butter: Any nut butter or sunflower butter can work here.
- Coconut Oil: This helps the rice krispies stick together once it firms up, along with the peanut butter. If you’re unable to use coconut oil, you could try adding 1/8 cup more peanut butter.
- Chocolate Chips: Sometimes I like to add chocolate chips to these bars, but honestly, I think they taste the best without them! It is one variation you can try though!
Tools For This Recipe
- Mixing bowl
- 9×13 inch baking dish (a little bit smaller of a baking dish could work here, too!)
How to Make Peanut Butter Rice Krispie Treats: Step-by-Step
For the full recipe with the exact ingredients, scroll down to the printable recipe card below!
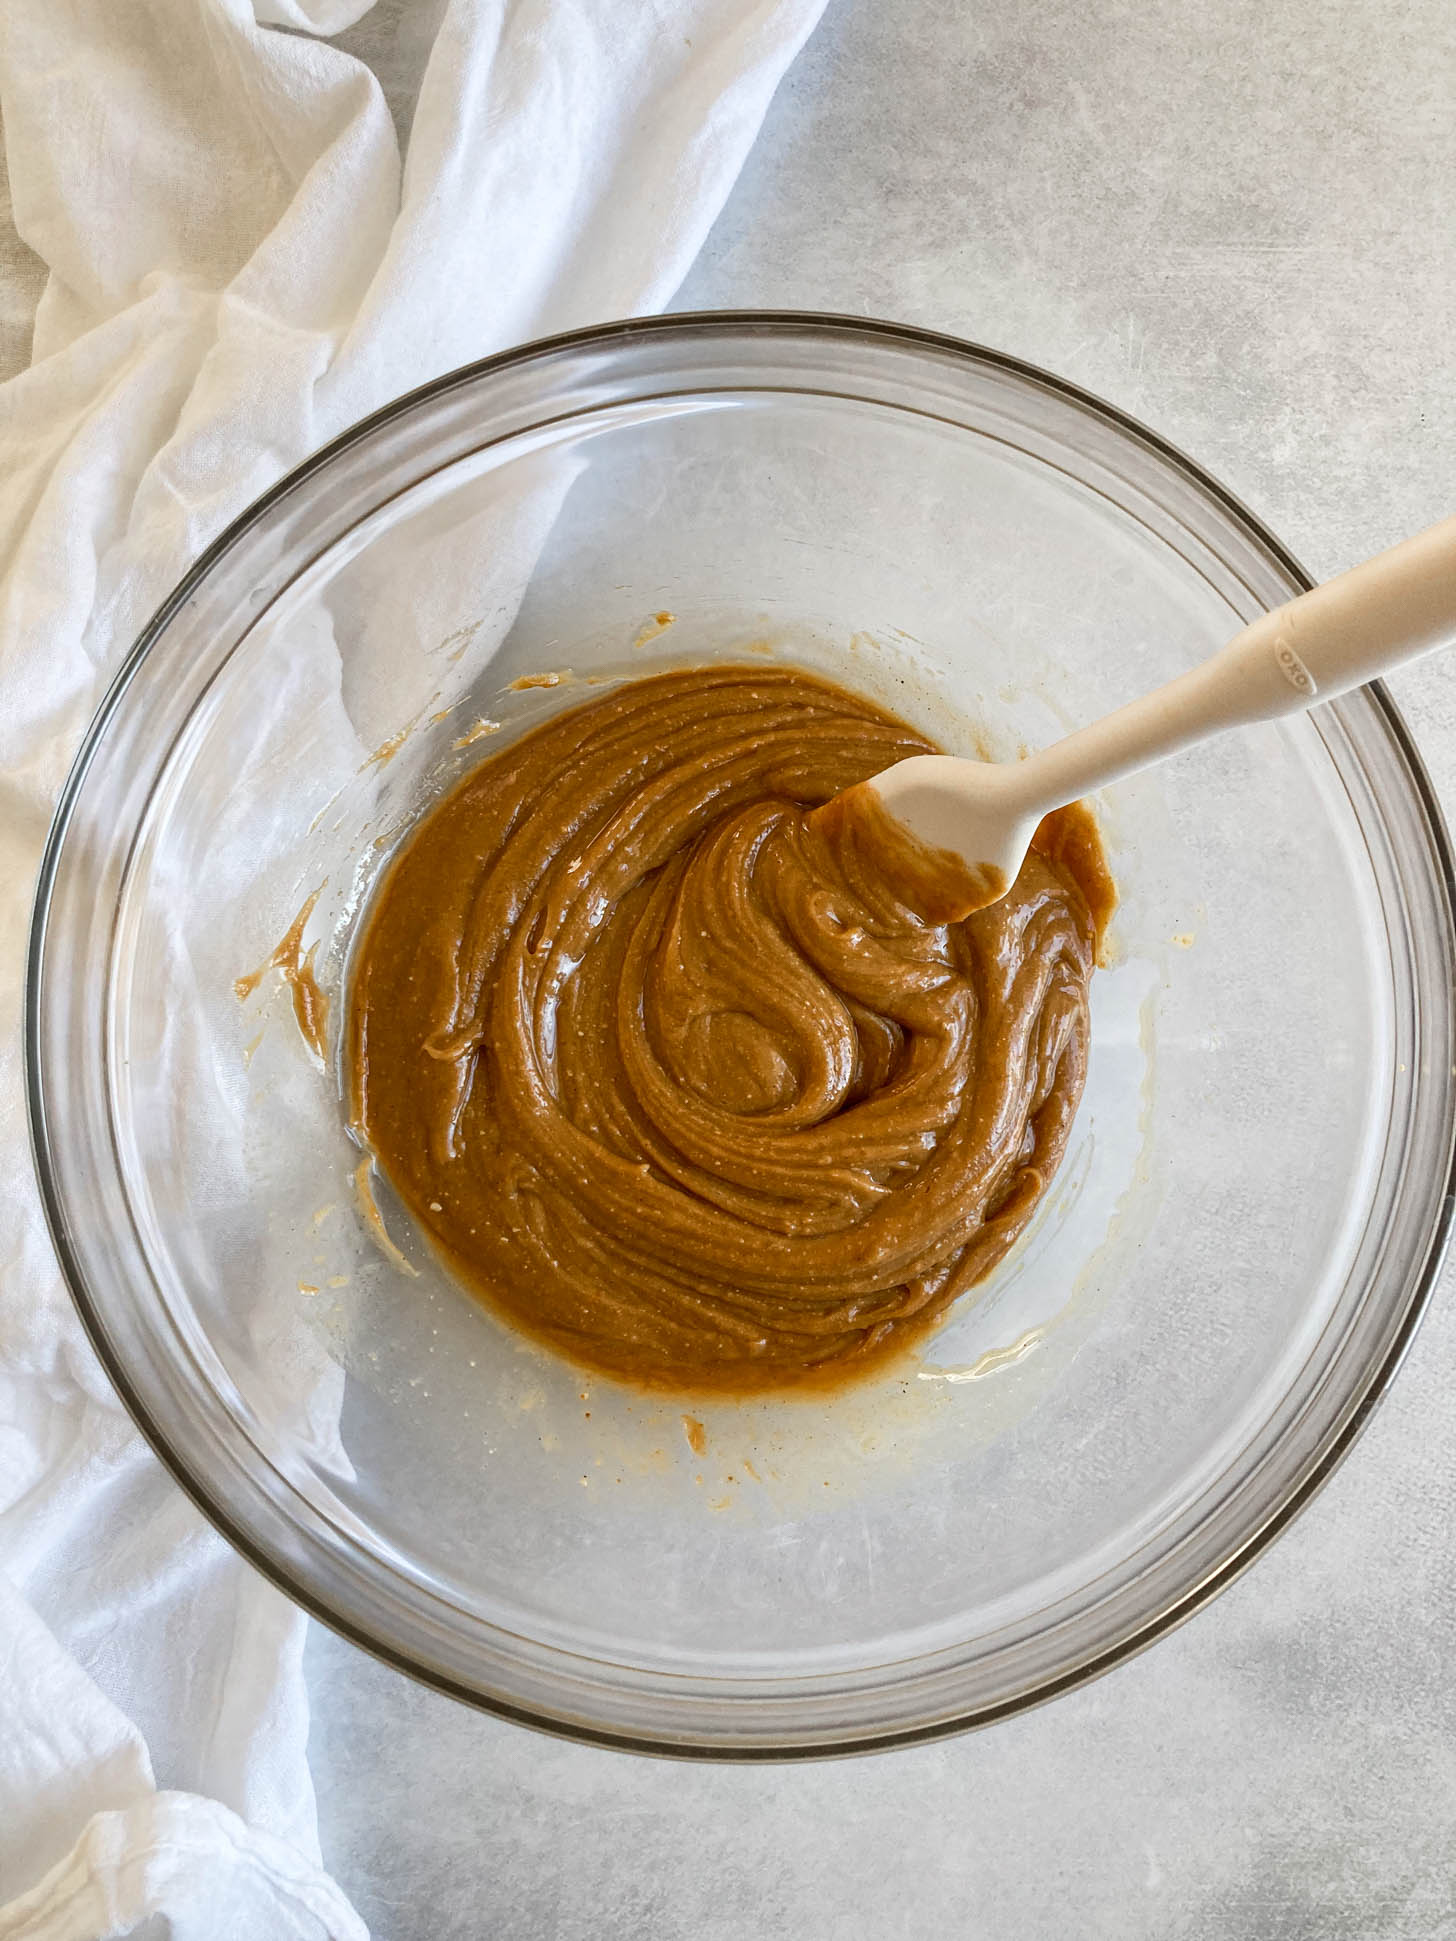
Step 1: In a large bowl, mix peanut butter, maple syrup, vanilla, and coconut oil together.

Step 2: Add the Rice Krispies and stir until evenly coated with the peanut butter mixture.
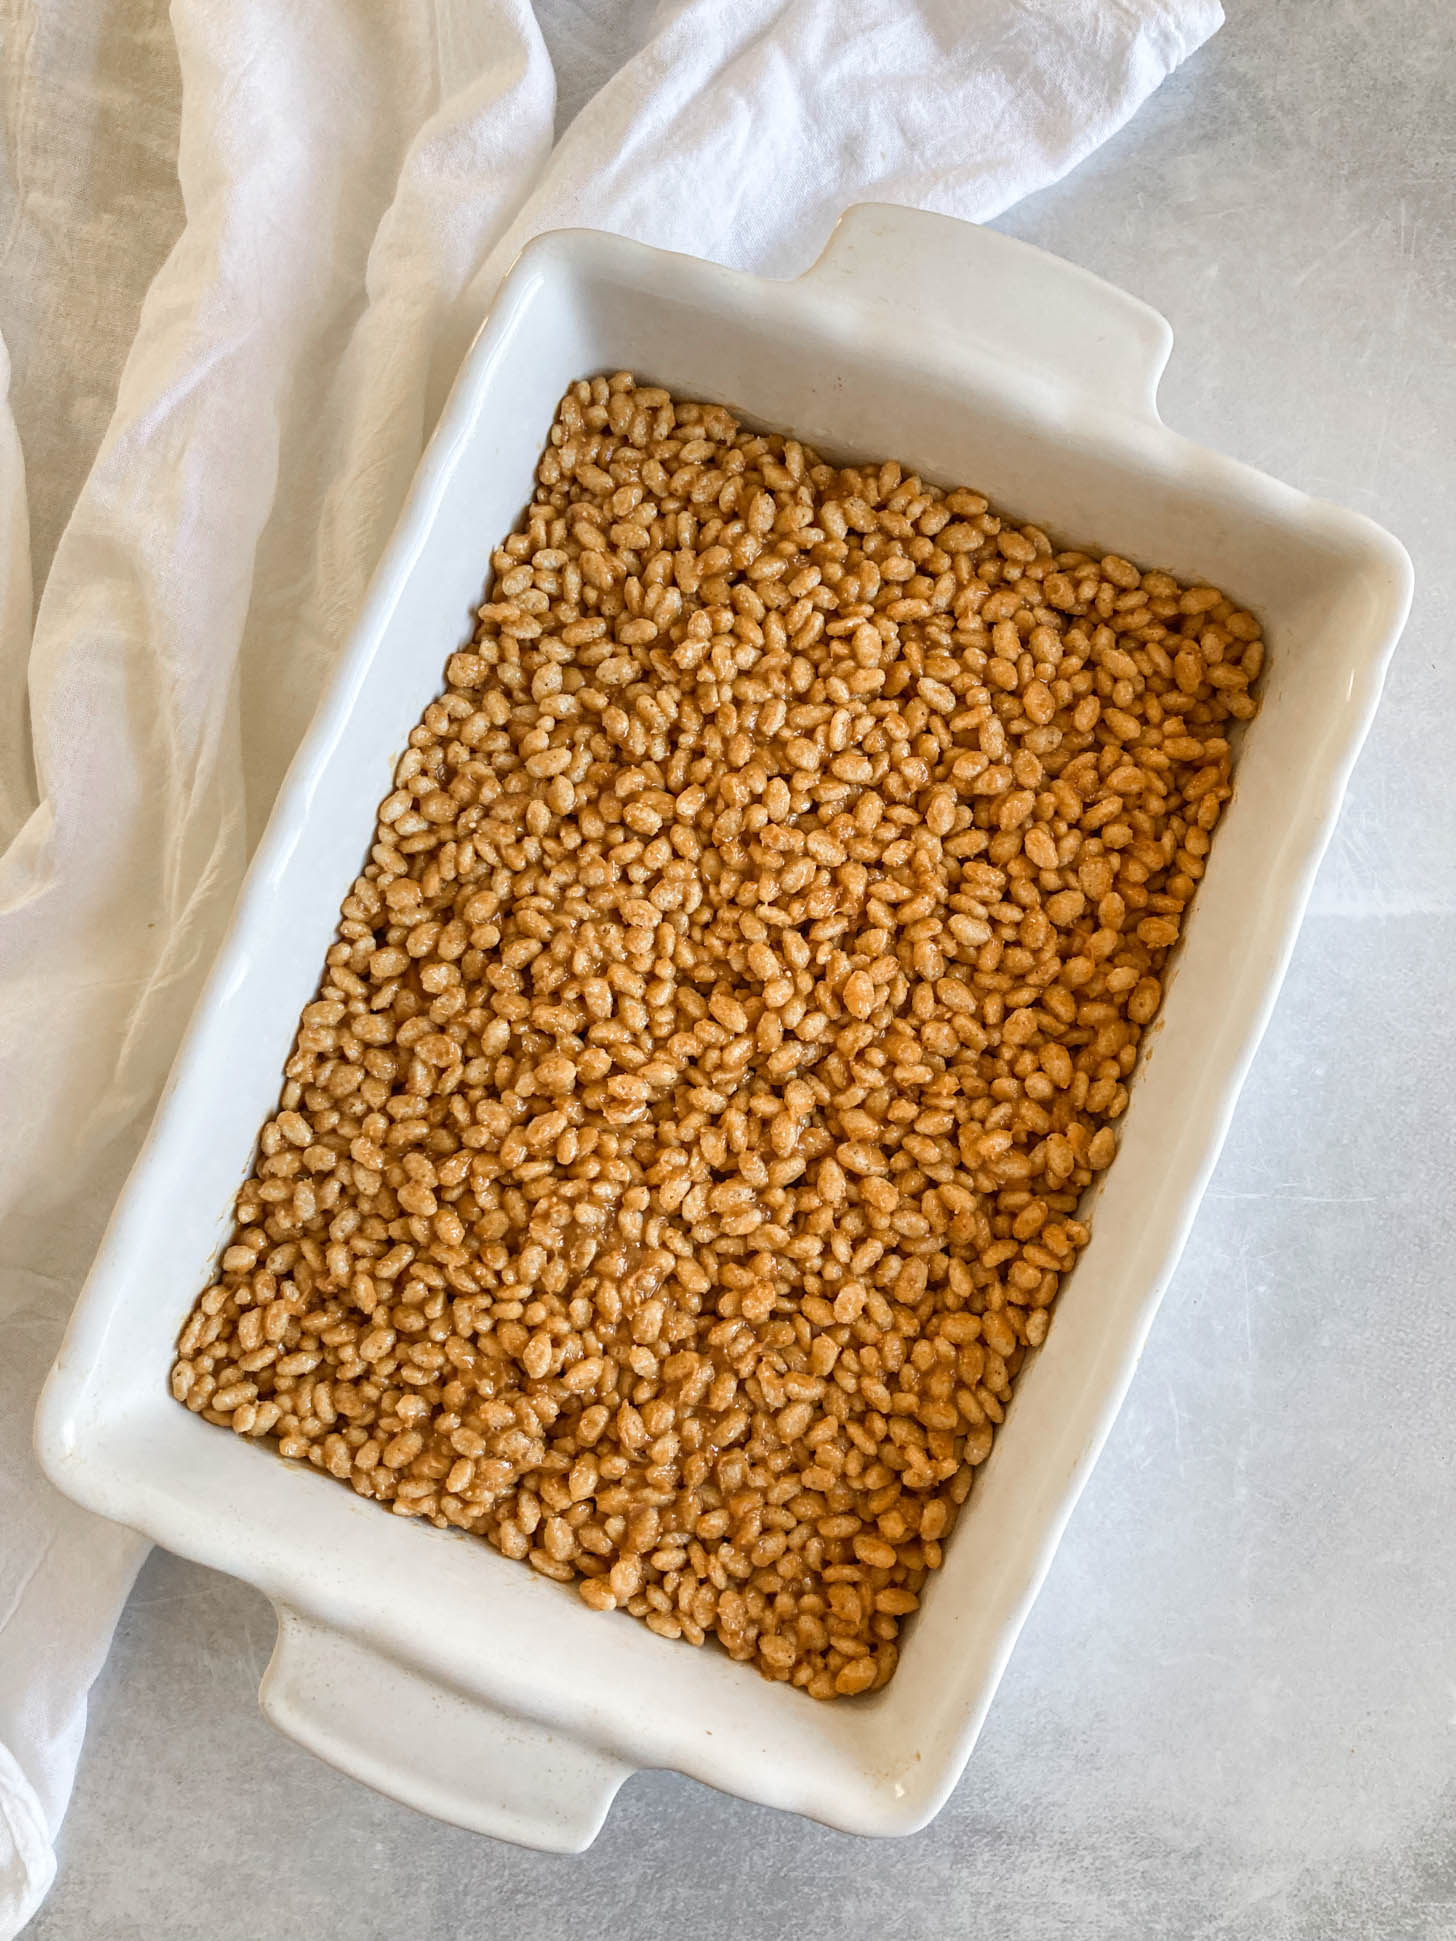
Step 3: Transfer the mixture to a greased 9×13-inch baking dish. Spread evenly and press mixture down firmly with a rubber spatula. Refrigerate for at least 30 minutes before cutting into squares and serving.
Recipe Tips & Tricks
- Keep Peanut Butter Rice Krispie Treats in the fridge when you’re not eating them so they can hold their shape and firmness.
- Please note that these bars do not hold together as well as your classic rice krispie treat, as they don’t contain marshmallows.
Storage & Reheating
- Fridge: Store leftovers in an airtight container in the fridge for up to 5 days.
Frequently Asked Questions
This is a no-bake recipe! You set them by placing them in the fridge for about an hour and also storing them in the fridge when not eating them.
I used One Degree Organics Brown Rice Crisps, but you can use regular Rice Krispies. I haven’t tried it with any other puffed rice cereals. Some may not hold up as well when they come in contact with the peanut butter mixture (meaning, they may become too soft), but if you try another kind, I’d love to hear how it went!
You can use any kind of nut butter or sunflower butter if you have a peanut allergy.

In a Lunch Rut?
Grab your FREE 10-Day Lunchbox Recipe Meal Plan! Great for adults and kids!
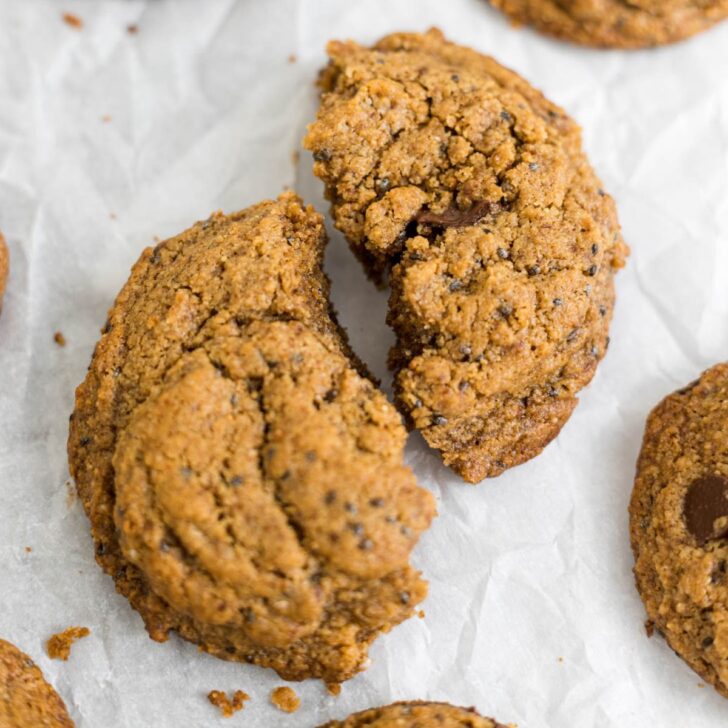
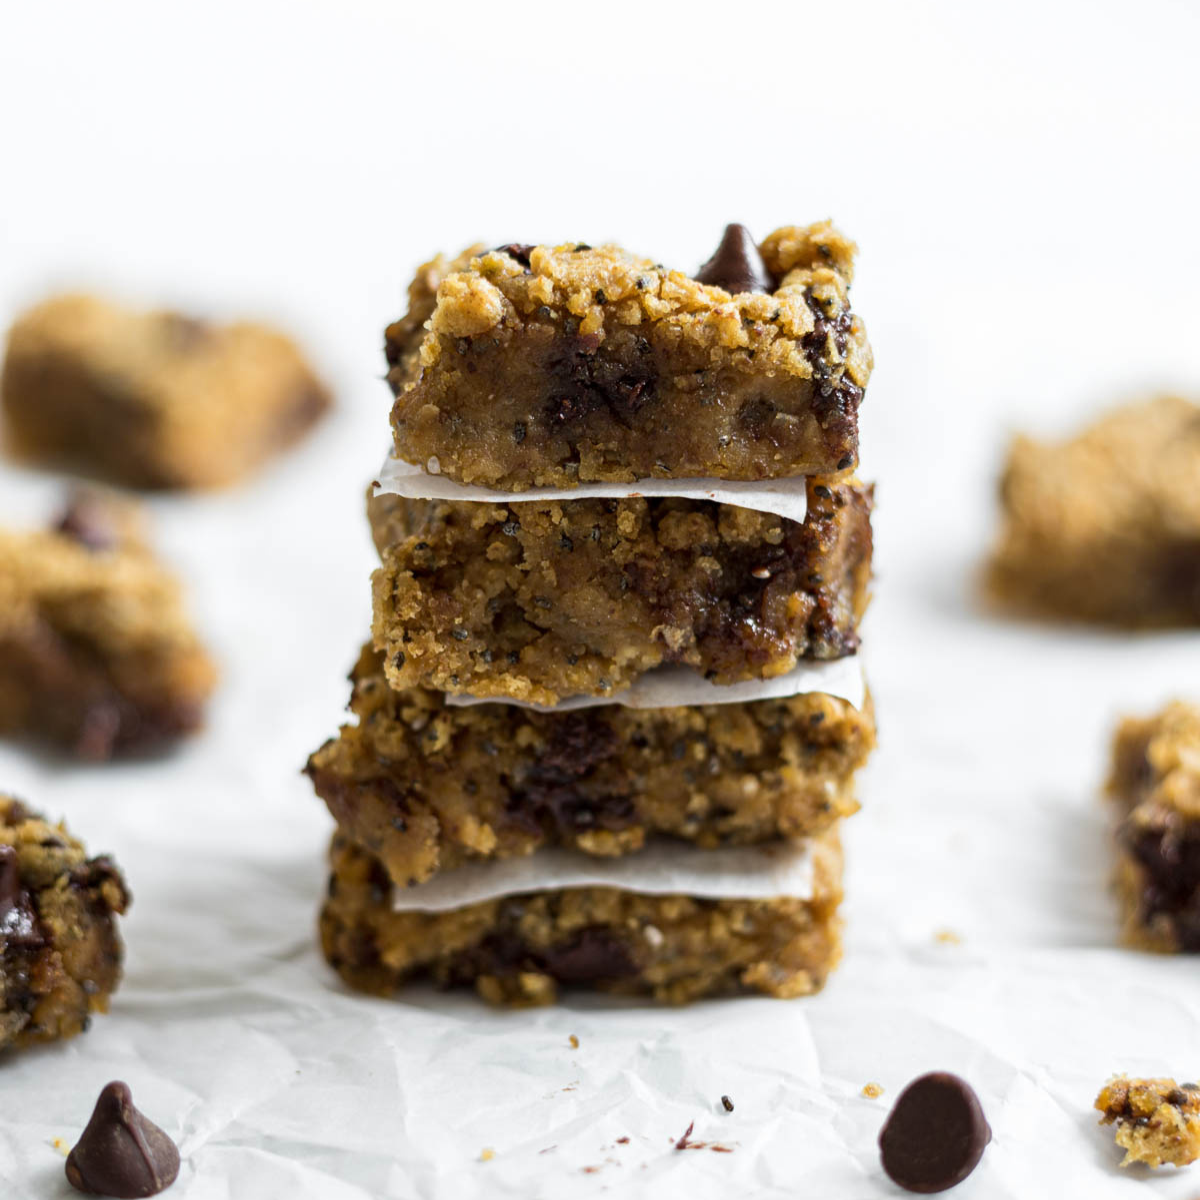
Healthier Dessert Recipes You’ll Love!


Did you try this recipe?
Let me know how you liked it by leaving a comment and rating below! Or tag me on Instagram and share what you made!

Vegan Peanut Butter Rice Krispie Treats (No Marshmallows)
Ingredients
- 5 cups brown rice crisps
- 1 cup peanut butter
- 1/2 cup 100% pure maple syrup
- 2 teaspoons vanilla extract
- ¼ cup coconut oil, melted down to 1/8 cup
- Avocado oil spray, to grease the baking dish
Instructions
- Spray a 9×13-inch baking dish with avocado oil spray (or any vegetable oil spray). If you want thicker bars, you can use a smaller baking dish.
- In a large bowl, mix peanut butter, maple syrup, vanilla, and melted coconut oil together.
- Add the rice krispies and stir until evenly coated with the peanut butter mixture.
- Transfer the mixture to the baking dish. Spread evenly and press mixture down firmly with a rubber spatula. Refrigerate for at least 30 minutes before cutting into squares and serving.
Oh my goodness! These are divine! They are sooooooooo easy to make and they taste amazing! It was really hard to wait for them to chill in the fridge. We did do half of the 9X13 pan with chocolate drizzled on top and they were absolutely delicious with the chocolate or without! My picky 8 year old even said they were “so, so, so good” and he doesn’t like regular rice krispie treats. My 5 year old helped me make these and it was the perfect Halloween treat to make today with her! Because it was Halloween, we cut mini marshmallows in half and put a mini chocolate chip in the middle to make it look like an eyeball. We also decorated with some food gel/icing. I like these better than regular rice krispie treats! These will be a staple in our house!